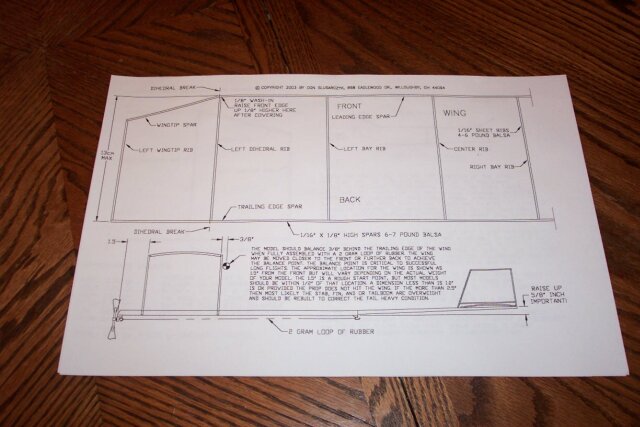
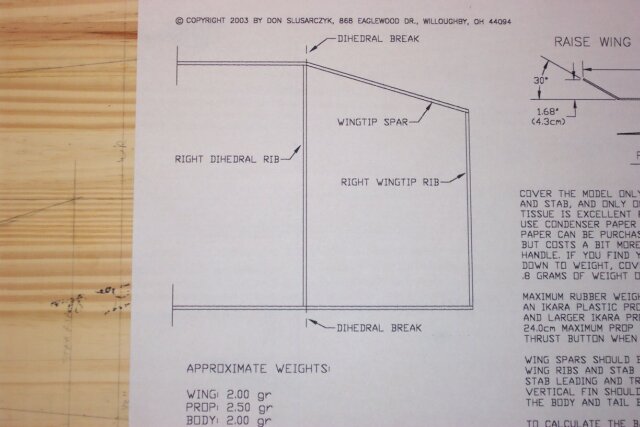
What we need to do is connect the right
wing tip to the rest of the wing plan. This is done by simply cutting out
the wing tip from the one page and taping it to the other. Make sure to
line up the vertical lines with each other when joining.
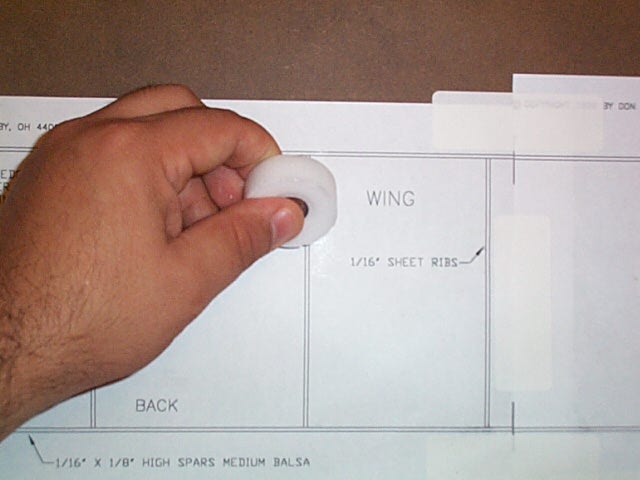
This next step is very important.
Take a candle or a dry bar of soap and rub it all over the plan on and
around all the black wing and stabilizer outlines. This helps to prevent
the glue from sticking the balsa wood to the plan when you are building.
After you are done, brush away any excess wax from the plan which may be
present (you can use your hand to do this). An alternate method would be
to cover the plan with a large piece of waxed paper. Either method will
work, in this photo I have chosen to use a small candle.
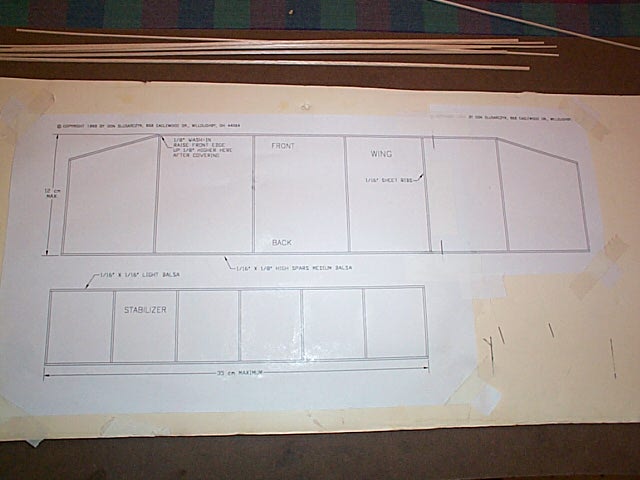
Now tape your plan to your
building board. I use a sheet of 1/2" thick foam core board which is available
at many art and craft stores. You can use 1/4" or 3/8" thick as well, but
I would not use 1/8" thick as it is just a bit too thin and flexible. You
could also use a piece of cardboard if that is easier for you to obtain.
If you do use cardboard, I would suggest using cardboard from 'moving'
boxes or 'storage' boxes as they are usually made from a thicker stronger
cardboard. What ever type of building board you choose, it should be flat
and smooth, and you need to be able to push pins into it.
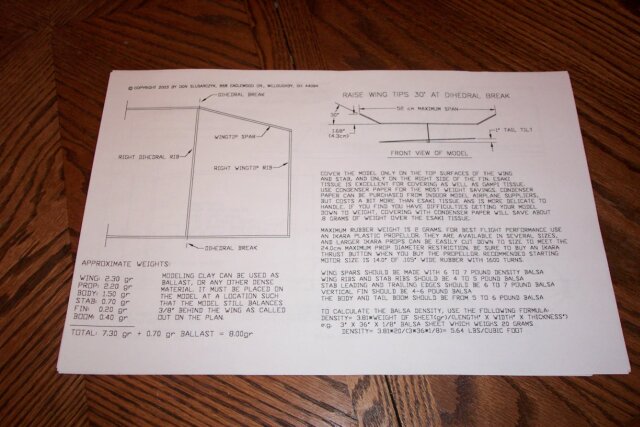
(This is a older C division plan but
the idea is the same.)