Dihedral can be defined in more than one way. It can be specified by angle, or by actual amount. It is correct to say " I have 2 inches of dihedral under each tip." and it is also correct to say " I have 30 degrees of dihedral under each tip." For our model, we will need to place in 30 degrees of dihedral under each tip. 30 degrees was chosen because most students have a 30/60/90 degree right triangle.
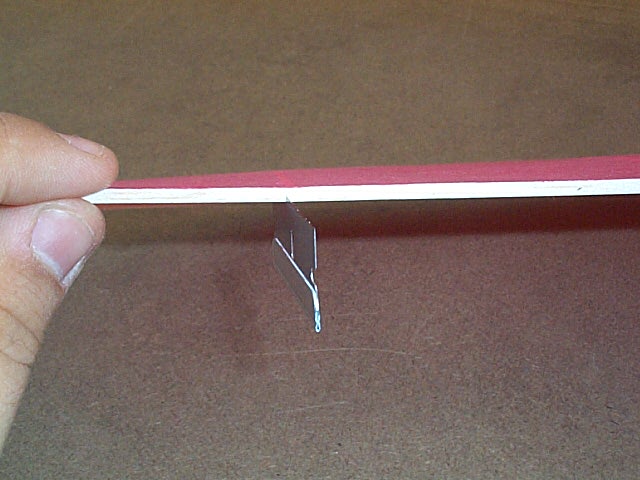
To put the dihedral in, we
will have to first make a cut into the wing spars with a new sharp single
edge razor blade. Use the blade and cut about 1/2 to 2/3'rds of the way
through the trailing edge spar just outside of the dihedral rib on the
wing. Refer to the plan and see the dashed lines marked "Dihedral Break"
on the wings. This is the location you want to cut with the razor.
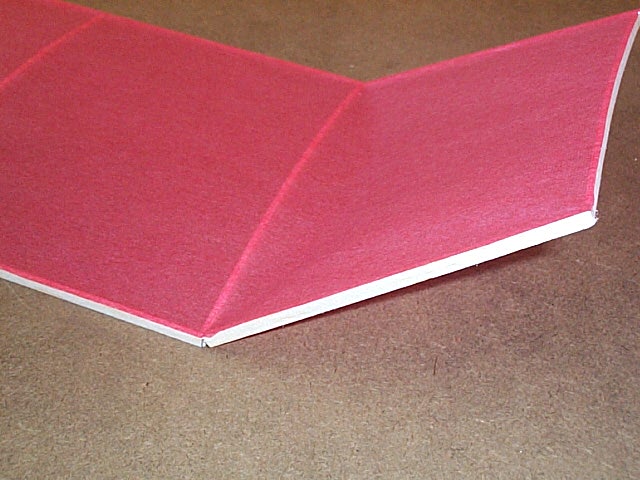
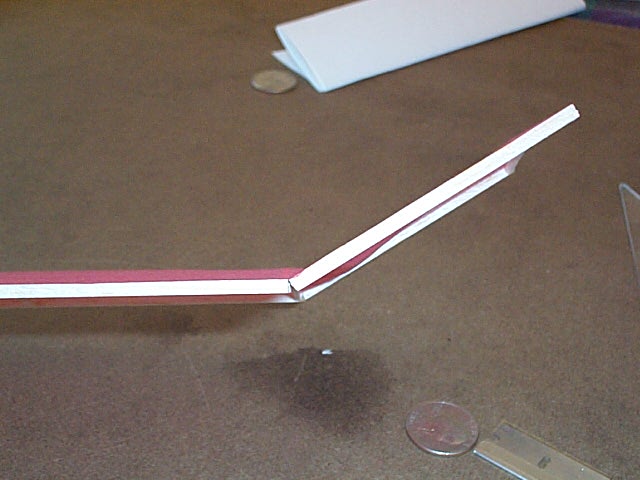
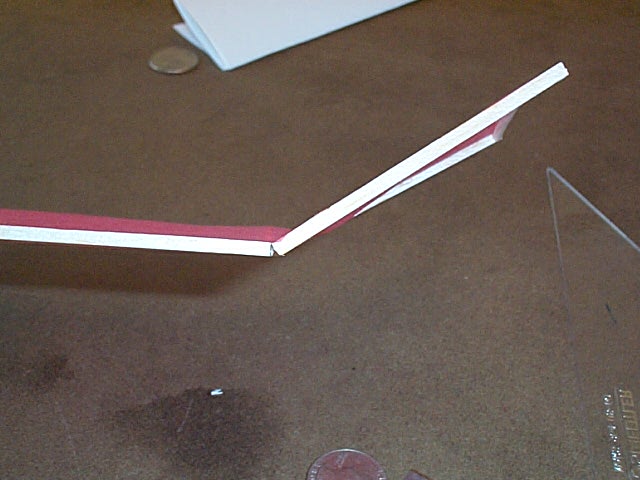
After you cut through the
spar, bend the wing tips upwards to crack the rest of the way through the
wing spar. When you are done, it will look as shown below.
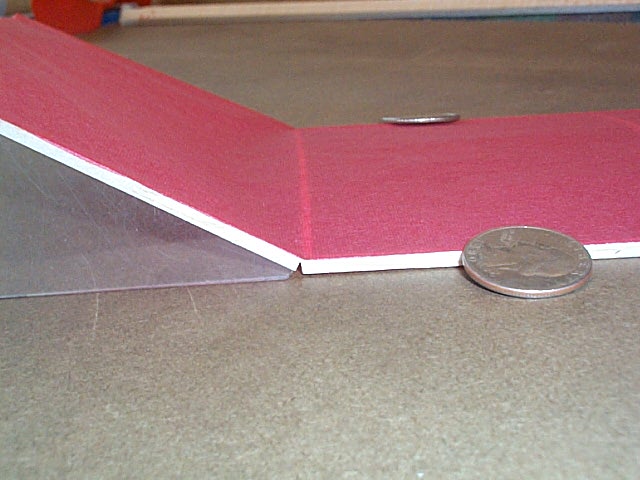
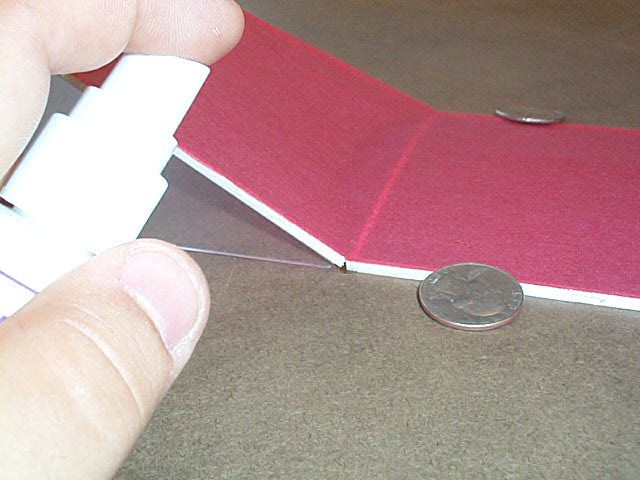
Use the 30/60/90 triangle
and place it under the wing tip as shown to hold the wingtip at the proper
30 degree dihedral angle. It may be necessary to place a few weights on
the wing to hold it down flat on the table. (I chose to use a few coins
for the weight.)
Use your superglue, and apply
a drop of glue to the dihedral joints.
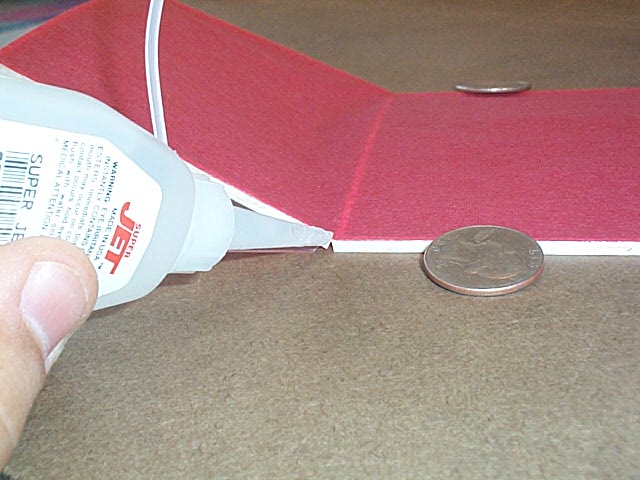
Then apply the superglue
accelerator to the glue joints, and let dry for about a minute.
After the glue dries, then
slide a razor under the joint to cut it loose if it happens to glue to
the table.

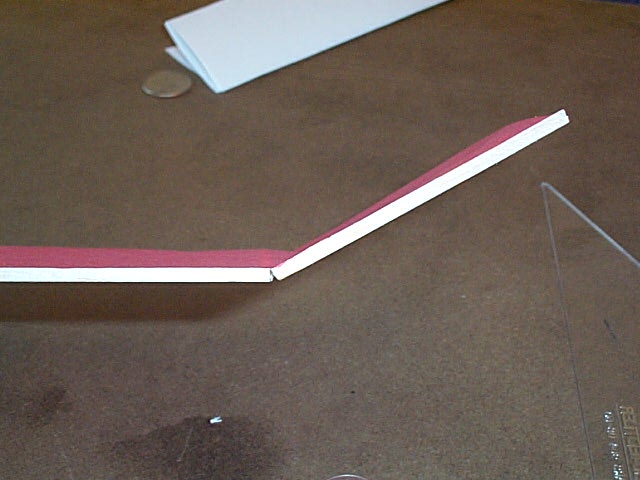
Lift the wing off the table
and check the wing tip to make sure the wing tip spars are parallel to
each other. You do not want to have the wing tips washed-in
or washed-out, or it will cause the model
to perform poorly. If your wingtip needs to be corrected then use the razor
and cut the joint you just created and raise or lower one of the wingtip
spars to make it line up with the other one.