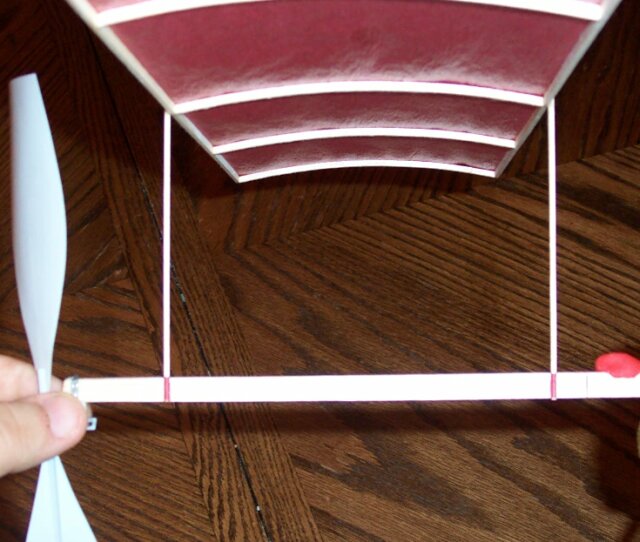
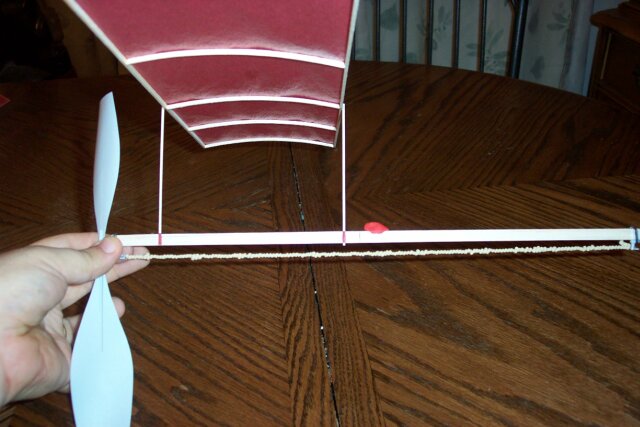
Raise the front wing post
1/16" higher than the rear wing post. Note the red clay ballast on the
model to the right, if you model needs ballast to bring it up to weight,
make sure it did not fall off during transit.
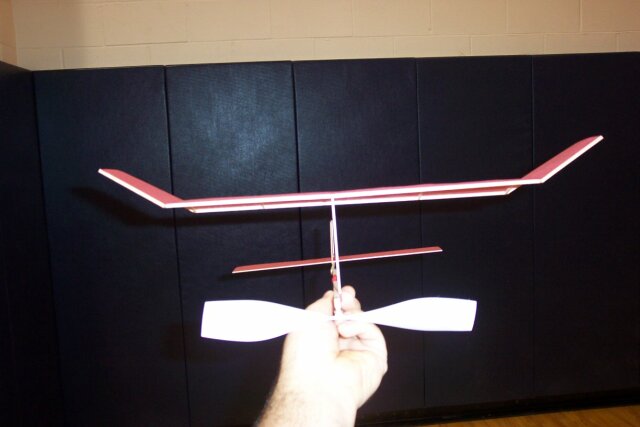
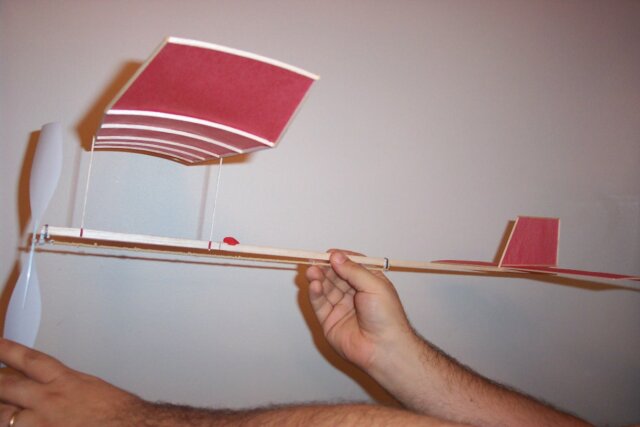
Look down the model from
the front and check to make sure the model looks OK.
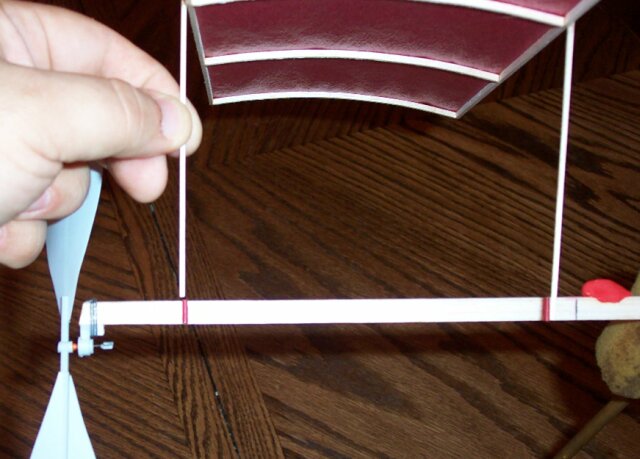
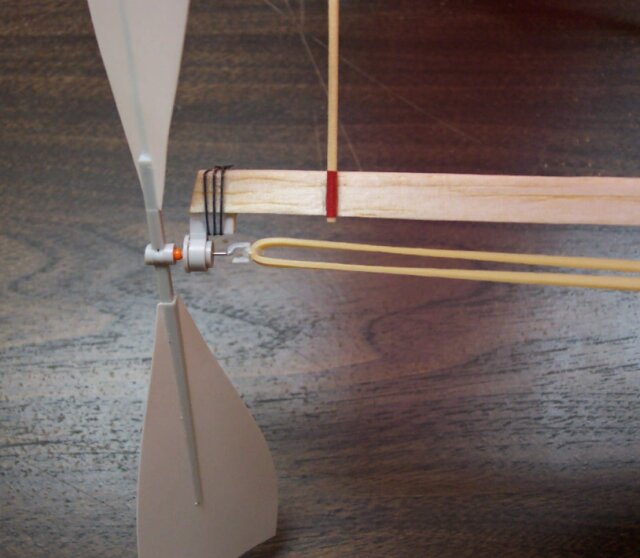
Check
to see if the prop has a little bit of left thrust. See how the right side
of the prop is ahead of the left side in the photo below, this is left
thrust
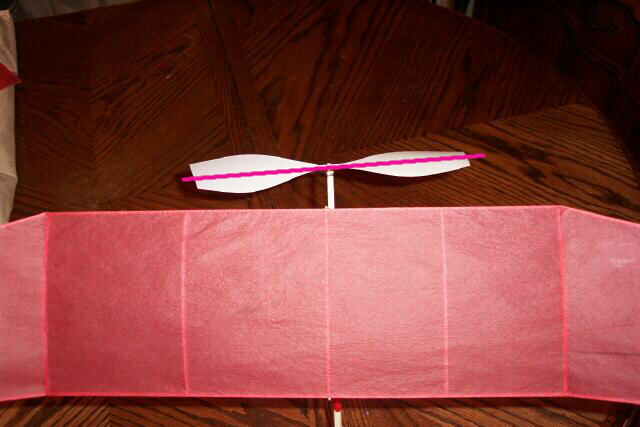
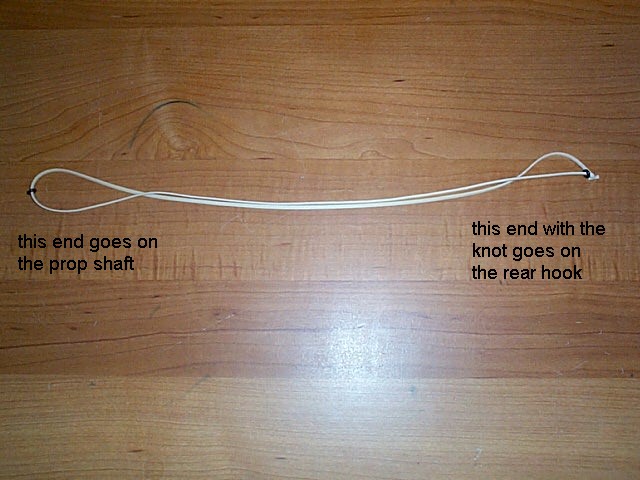
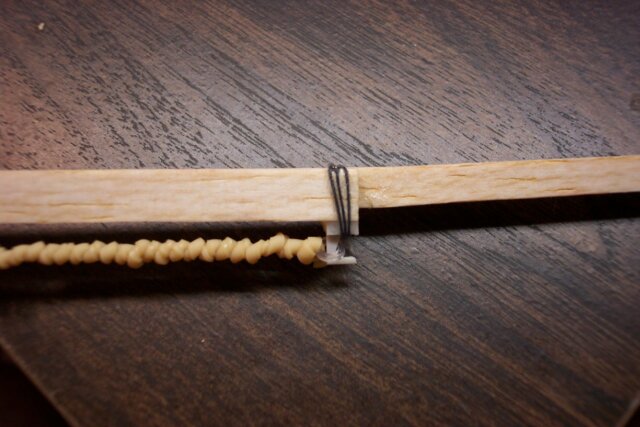
If you do not have a winding
stand, then you will need someone to help you wind your model. If you are
using orings, then you must make sure to slide one o-ring to the back by
the knot and the other forward to the front of the motor. (see photo
below)
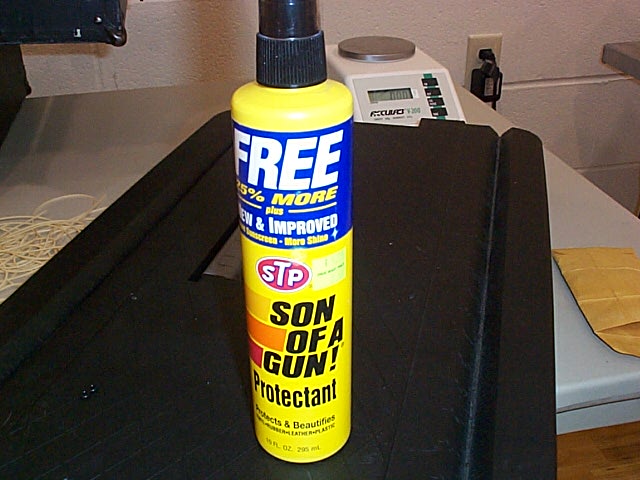
Before winding the motor you will want to make sure it is lubricated. The rubber, if unlubricated, will cut and nick itself from its own friction so quickly that it will break within a few uses. However, with the proper lubricant, a motor can be used many times for many years and still perform well. Many people use STP 'Son of a Gun' or other similar protective products since they have high amounts of silicone in them, and silicone is an excellent lubricant for our motors. If you are in a real bind, then a liquid hand soap or liquid dish soap can work as well. Other lubricants that are used by modelers include castor oil, glycerin and greensoap mixtures, as well as other brands of silicone lubricants. In any case, you should always have some lubricant on the motor when winding it otherwise it will not last long at all.
Attach the front o-ring to
the prop shaft hook, and attach the rear o-ring to the hook on the winder.
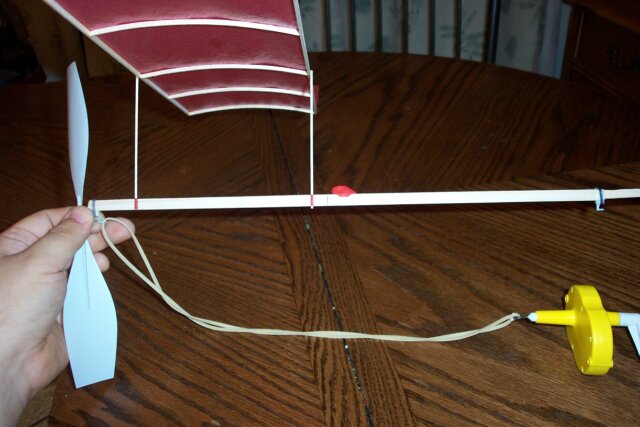
Have one person hold the
nose of the model securely while the other person holds the winder.
Whoever is holding the model
should use their other hand to shield the model and rubber during winding.
If the rubber should break, it will hit your hand instead of damaging the
wing.

Have the person doing the winding stretch the rubber about 3 feet away from the model (this is the out position). For your first flight I would try about 500 turns. The best winding method I have found is what I call 50/50. What this means is that 50% of the turns are wound in the 'out' position, and then the remaining 50% is wound as you slowly walk towards the model so that when you put the last turn in you are at the rear motor hook. Once the rubber is wound, remove it from the winder.
Attach the o-ring to the
rear hook.
You are now wound and ready
to fly.
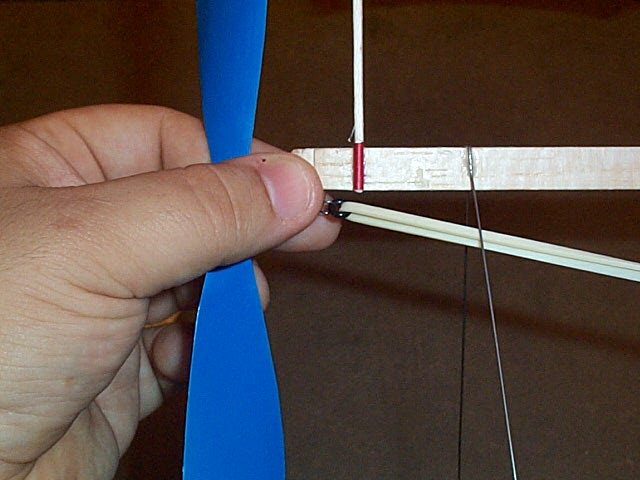
To launch the model, hold
it in one hand by the body behind the wing, and then hold one blade of
the prop with the other. Hold the nose of the model slightly up and then
release the prop,
Once the prop starts spinning,
then GENTLY PUSH the model forward with your other hand to get it flying.
Watch your model carefully to see what it does, hopefully it will fly just
fine but if not then we will have to make some trim adjustments.