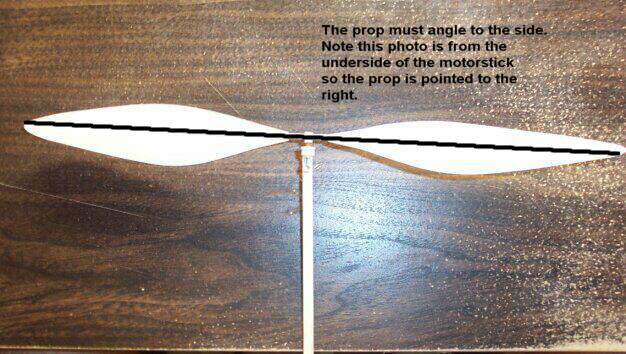
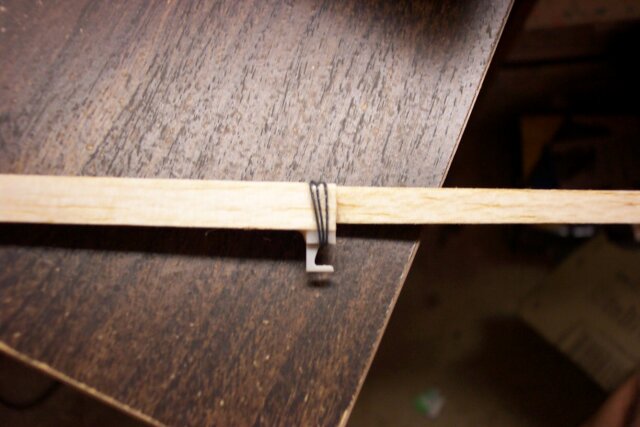
Turn the motorstick so the
BOTTOM is facing you, and see if the prop hanger has side thrust. Note
in the picture that the left side of the propeller is higher than the right
side. This is the side thrust that helps to pull the nose of the model
to the left when flying to make it circle, the proper amount is around
2 degrees.
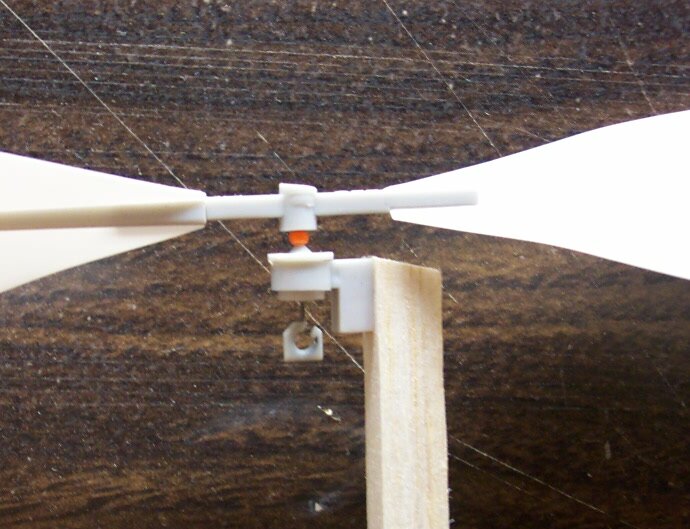
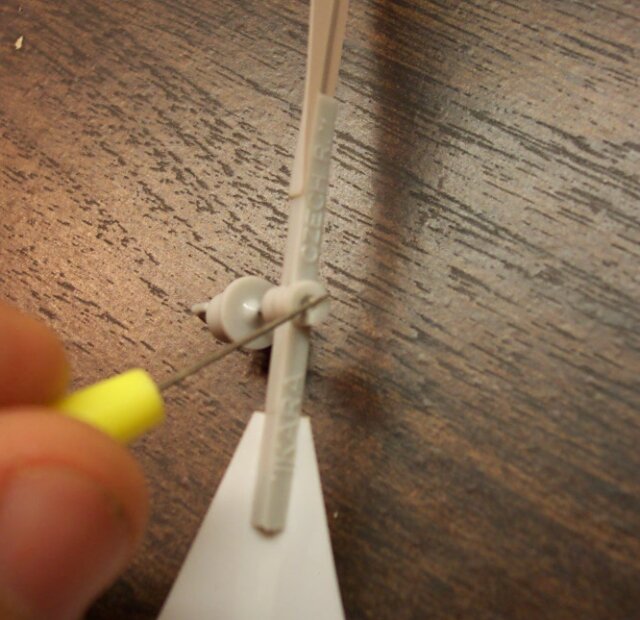
Apply a small amount of glue
around the prop hanger. Once it dries, remove the prop from the prop hanger
and wrap the nose with some thread. Apply glue all around the thread. The
thread helps protect the prop hanger from breaking off of your model. This
can happen during handling, when the model hits the ceiling, or when the
model lands on the floor.
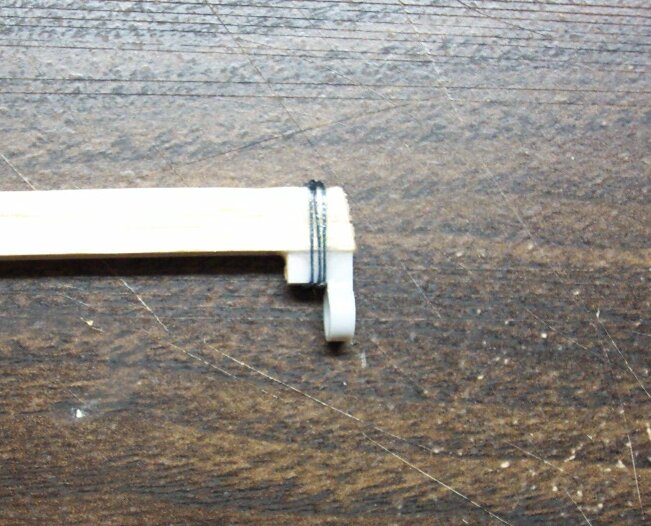
Glue the rear hook to the
back of the motorstick and wrap with thread the same way the nose bearing
(prop hanger) was.
Now we need to prepare the
propellor. First place a SMALL drop of superglue
down the shaft hole on the prop hub. the purpose is to glue the wire shaft
to the hub. Be careful no to let the excess superglue run down the wire
shaft into the plastic bearing, otherwise the prop may not rotate.
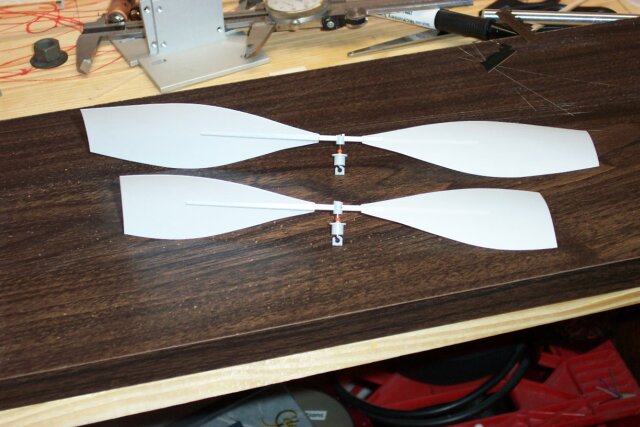
Draw a line on the prop blade
which is half the diameter allowed for the division you are flying. Division
C props can be 24cm in diameter, so make the line 12cm out from the center
shaft of the propellor. For Division B models the maximum allowable diameter
is 18.5cm, so half of that is 9.25cm.
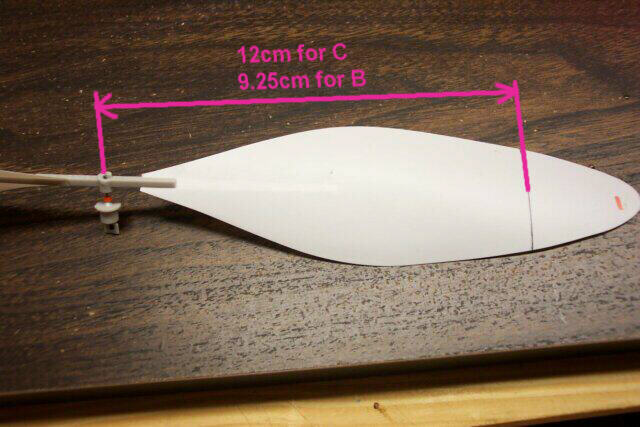
Use a pair of scissors and
trim off the tips of the propellors. The upper propellor is for the Division
C model, and the lower prop is the Division B model.