Scraping the prop is easy
to do, it is just time consuming. The procedure is to take a single edge
razor blade and scrape it back and forth over the prop blade. The photo
sequence below shows how this is done. When doing this, you should count
your strokes, do 50 on one blade then switch and do 50 on the other blade.
This helps to ensure that you remove the same amount of plastic off of
each blade so one is not heavier than the other which can cause the prop
to shake when it spins.

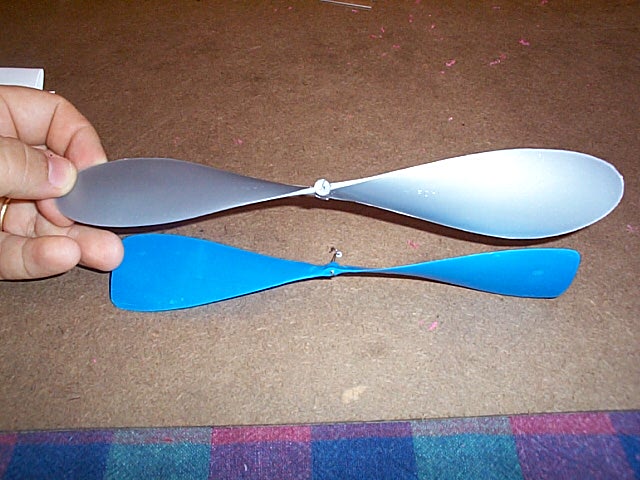
The same method is used when
cutting down a larger prop to 20cm. Here is an unmodified 9" prop and next
to it is a 3.5 gram prop which has been scraped down and repitched.
Look at how much excess plastic has been taken off near the hub.
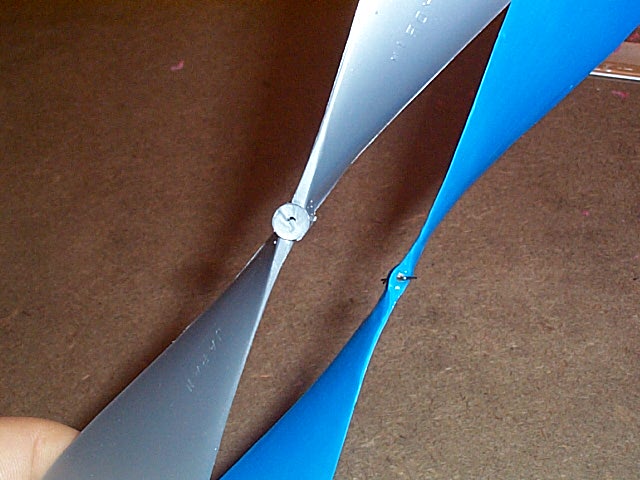
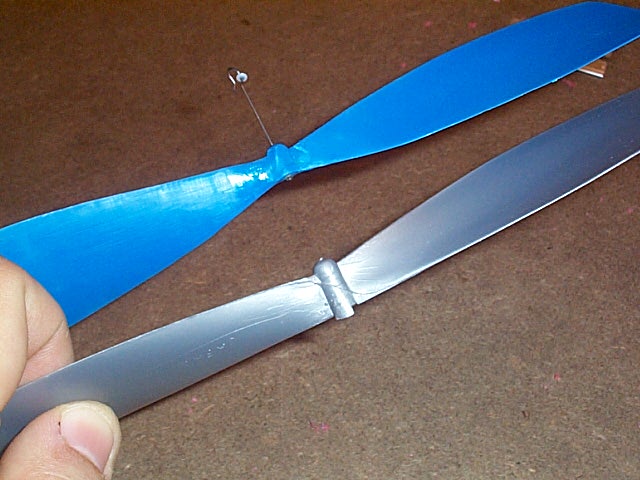
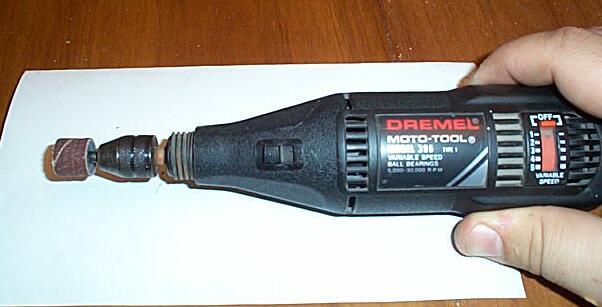
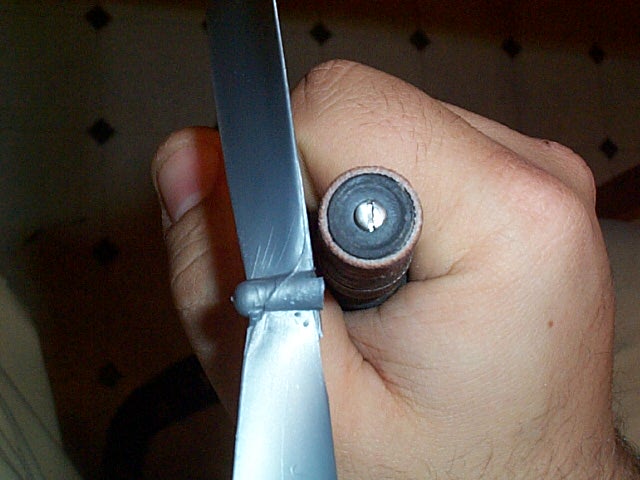
This thicker area of the
prop can be removed by using a round file or a Dremel type rotary tool.
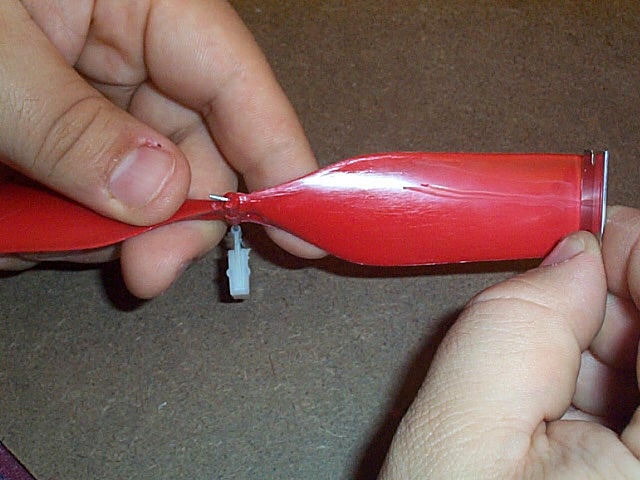
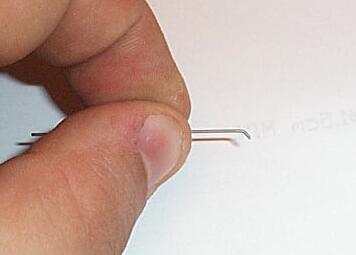
After you have scraped the
prop down to about 3 grams or so, you will have to make a prop shaft. You
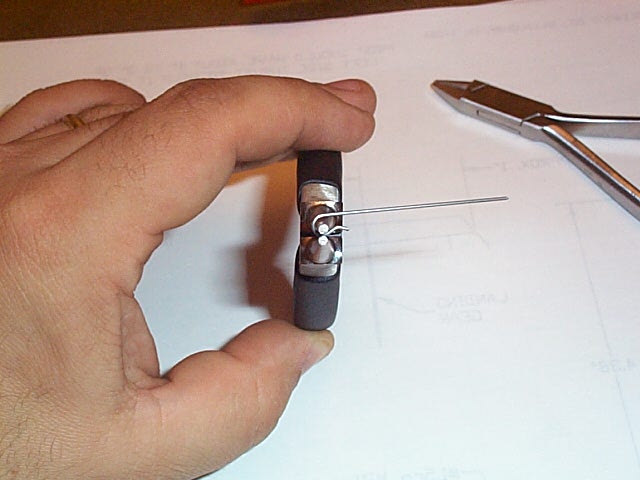
will need your round nose pliers, and about a 2" piece of .020 or .025
music wire. First bend a small angle as shown below, the bent piece should
be about 1/16" long.
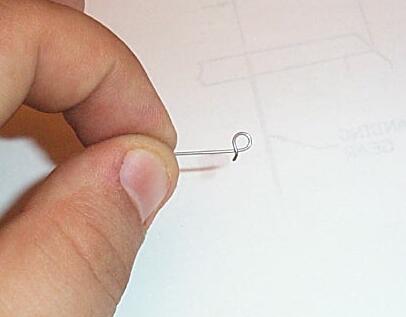
Then use the round nose pliers
and start to bend the hook as shown below.
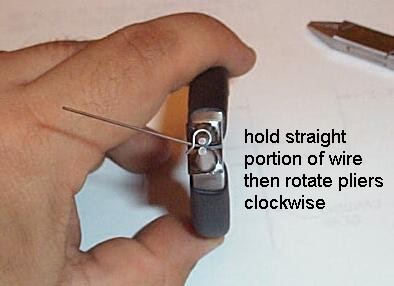
Then continue until you have
the following.
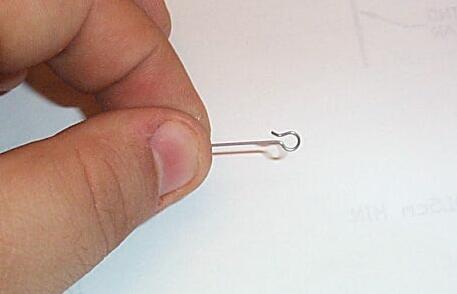
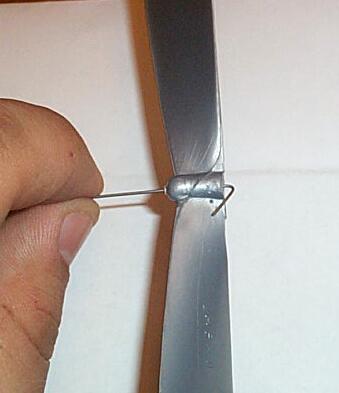
Then use the round nose and
bend the hook back on itself as shown below, and the prop shaft is done.
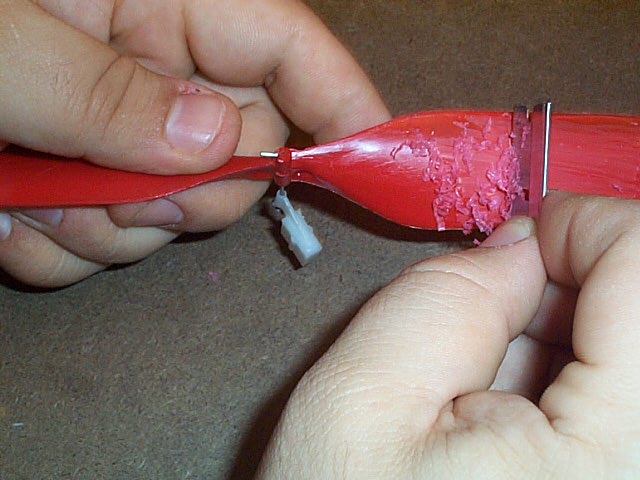
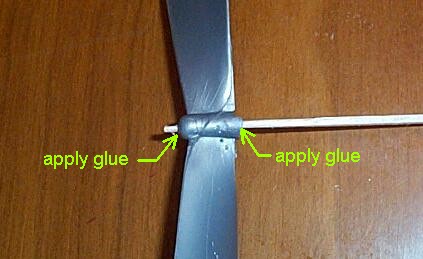
The next step is to glue
the prop shaft into the prop. The hole in the prop is .047" and the
shaft you just made is .020" or .025" diameter. Use a scrap piece
of 1/16" square balsa and round it with some sandpaper, then push it into
the prop. Apply a small drop of superglue on each end.
Then cut off the excess wood.
Now push a piece of the prop shaft wire into the balsawood plug. Try to
keep the wire going as straight as possible when pushing it into the prop.
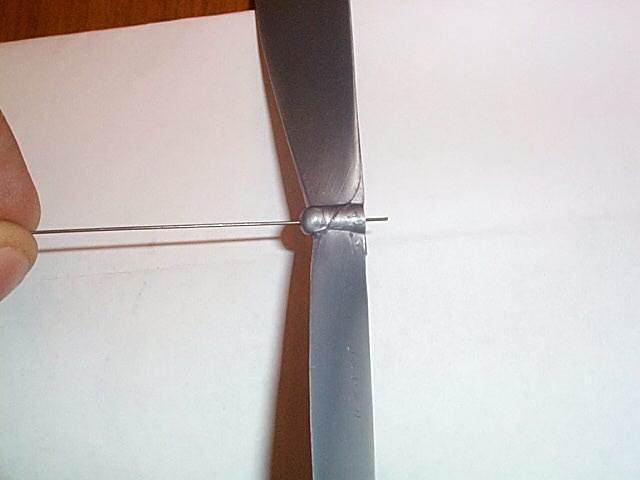
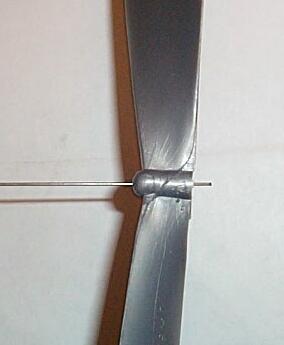
Try to avoid making it crooked
like this.
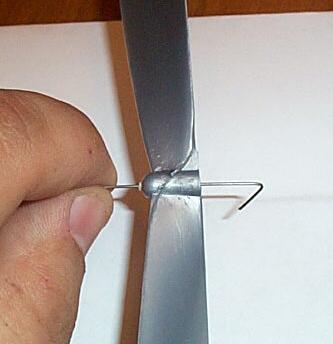
Then bend the wire back and
then glue it to the prop with a drop of superglue.
The last thing to check is
whether the prop is balanced. There are two types of balancing, static
and dynamic. Static balancing is checked when the prop is not rotating.
What you are doing is seeing if one blade has more mass than the other.
This is simply done by holding one of the prop blades horizontally and
then letting the blade go. If one blade is heavier, then it will rotate
to the bottom. (if you are not using the red prop assembly then you will
have to place the prop in the thrust bearing first before doing this test).
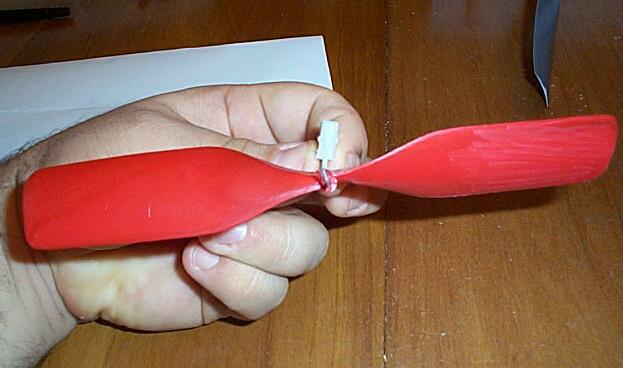
If the prop is in balance, then the blades will stay horizontal as shown
in the photo below.
If one blade is heavy, then
it will fall to the bottom.

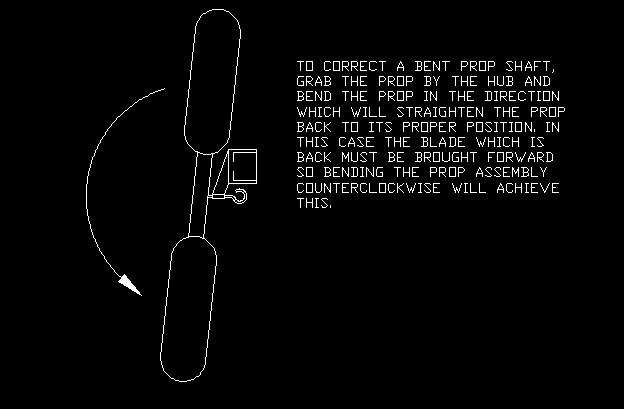
The other type of balancing
is dynamic balancing. This refers to whether the prop is in balance when
it is spinning. A statically balanced prop may not be dynamically balanced.
If one blade has more pitch than the other, then that one blade will create
more lift. The unbalanced lift will cause the prop to shake when flying,
and the model will look like it is vibrating when it is flying. To check
for dynamic balancing, watch the prop spin and hold the model by the motorstick
and feel and look for shaking. Also watch the model fly and see if you
notice some shaking when it is flying. If it does, then look at the prop
from the side when it is rotating. You will see a blurred image of the
prop as it rotates. If you watch carefully you can see when each of the
separate blades come by as the prop rotates. Look at the tip of each blade
as it comes by, each blade should follow in the same path as the previous
blade. If one prop tip is ahead of another prop tip, or one blade is higher
in pitch then the other then you will be able to see two separate prop
shapes as the prop spins. Below is a graphic depicting this and how to
correct the problems.
![]()
Back
to the main page.