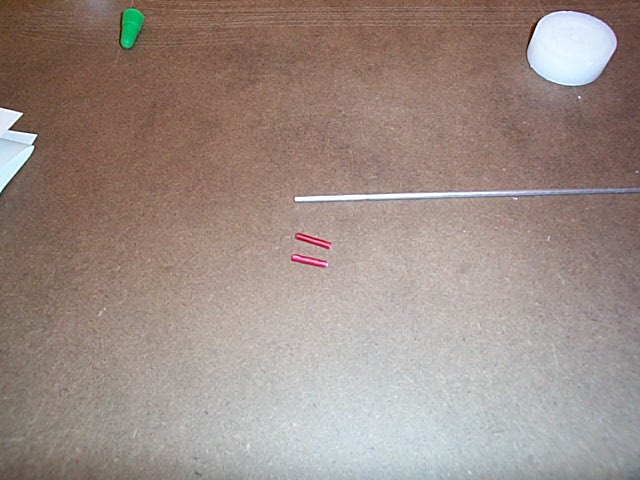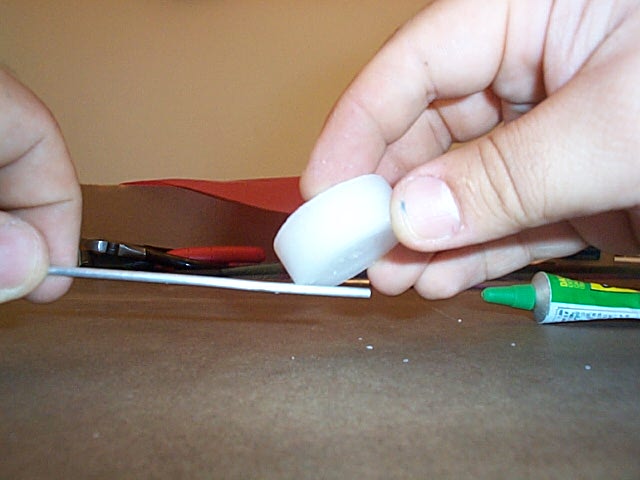
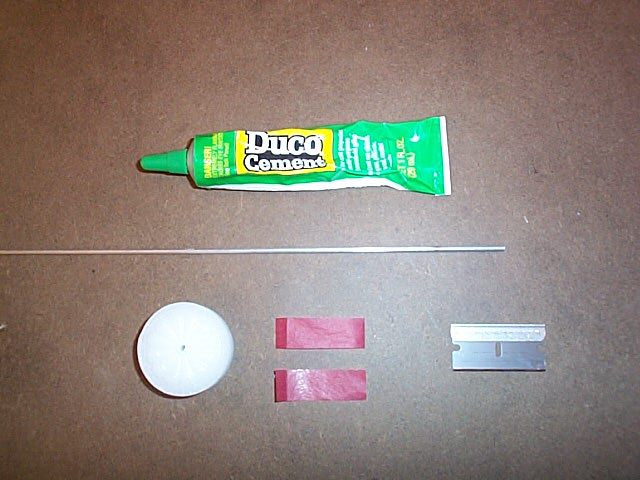
First rub some wax onto the
end of the 3/32" aluminum tube.

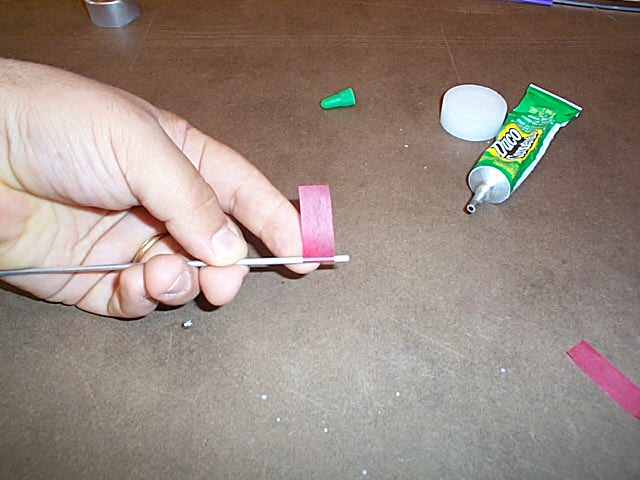
Then place a small dab of
glue on the tube, and then place the end of the tissue into the glue to
make a little 'flag' as seen in the photo below.
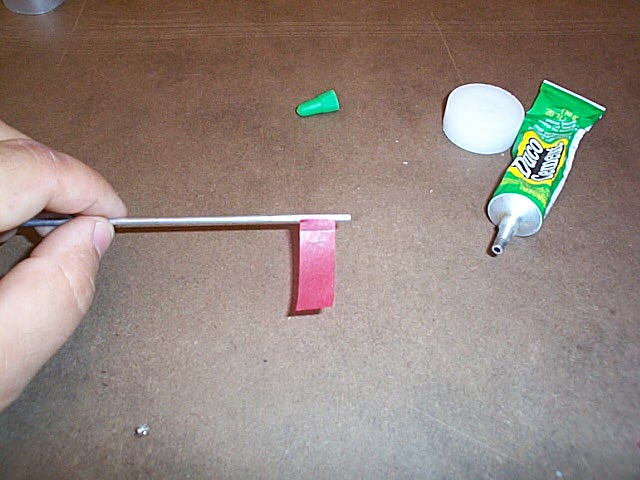
Let it dry about 30 seconds,
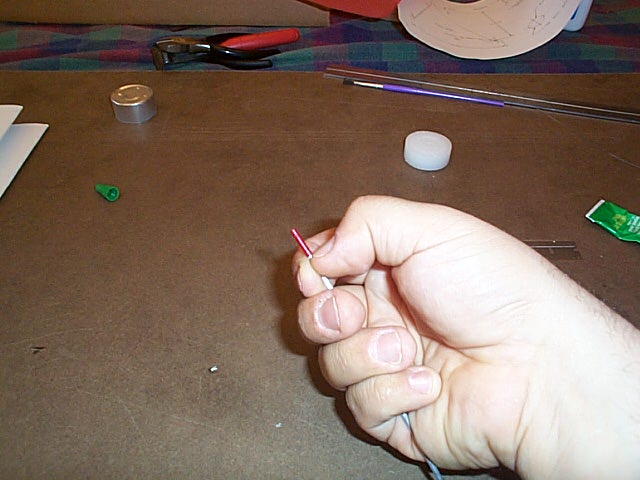
then carefully roll the tissue up on the rod one full turn. Use your finger
to hold the tissue against the tubing and to prevent it from unwrapping
itself. (See photo)
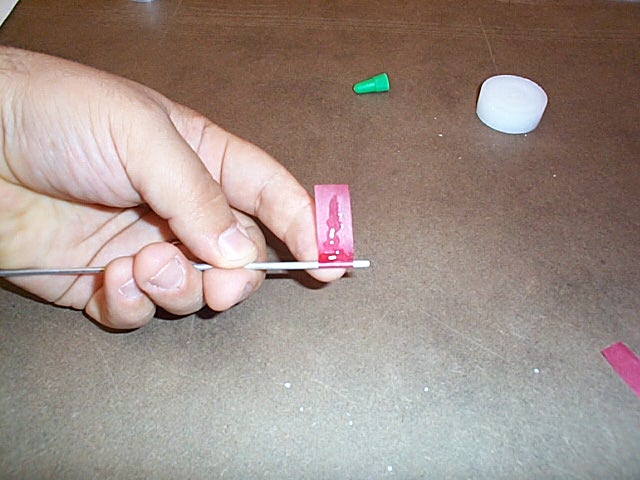
Apply the Duco cement to
the tissue near the point where the tissue wraps up on the rod. Also place
some glue on the tissue paper in the middle of the tissue strip. (See photo
below)
Now rotate the rod to wind
up the remaining tissue paper around itself. The excess glue will be squeezed
out as you wind up, but that is what we want. Rotate a few more times until
the end of the tissue sticks to itself.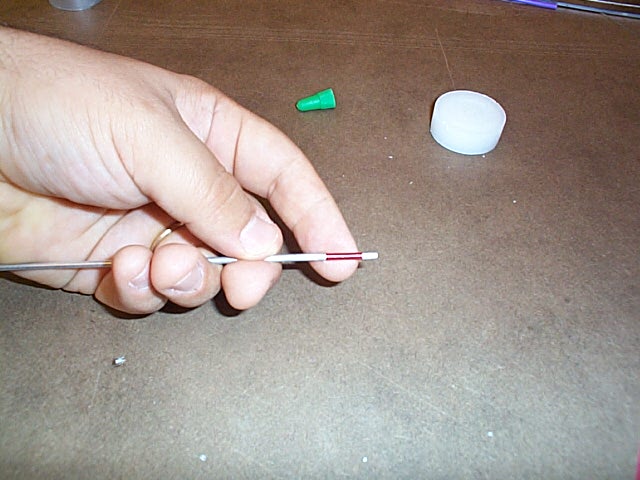
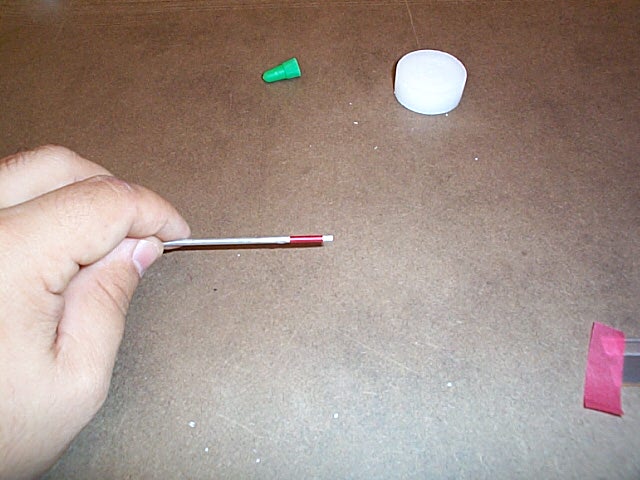
Here is what the finished
tube looks like still on the rod.
Let the tube sit there a
moment, just long enough to verify that it is not unwrapping itself. Then
with your thumbnail, push the tissue tube off of the aluminum rod. If the
tube gets stuck or will not come off at all, then you will need to cut
it off with a razor and start all over. After a few tubes it may be necessary
to scrap off any excess glue on the rod with a razor, and reapply the candle
wax or soap to prevent it from sticking.
And that is all there is
to rolling tissue tubes. Remember that you will need two of them for your
model, so I would make several at once so you have extras available to
you. The tubes need to dry for about 30-45 minutes before you can use them.
