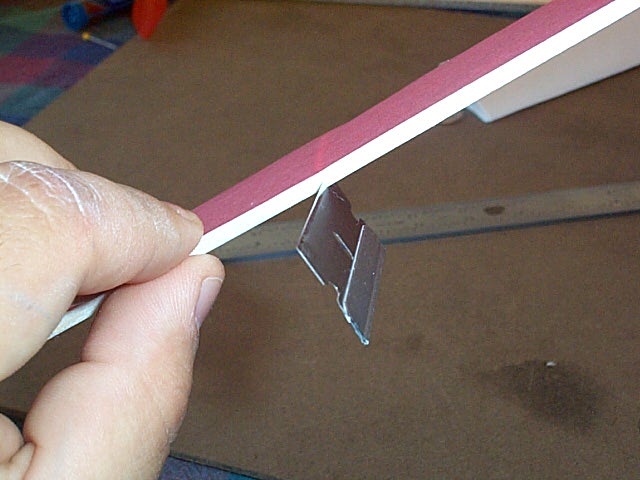
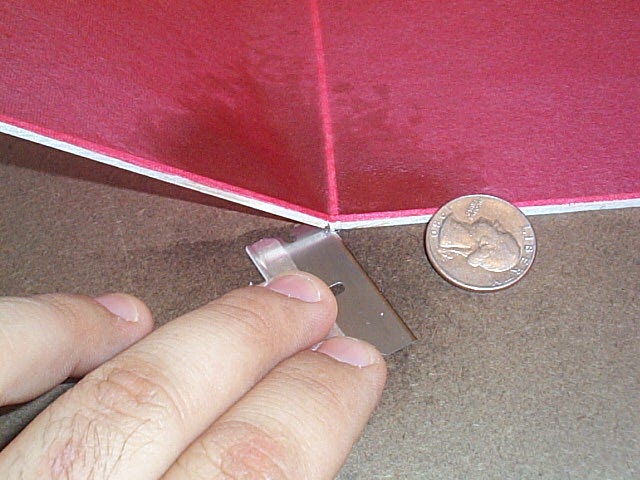
First, take your razor blade
and cut the leading edge wing spar (next to the center rib) about half
way through the spar like you did for the dihedral in the wing tips. Then
bend the wing upwards to crack the wood, like you did for the dihedral
in the wingtips. (Note that the cut is made on the right side of the center
rib as shown in the photo.)
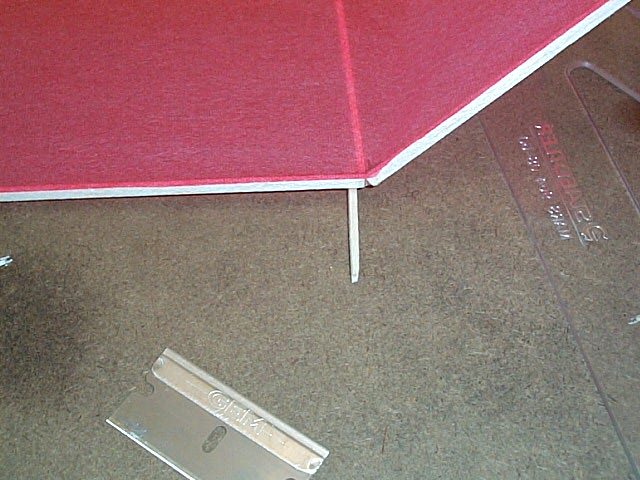
Then lay the wing down on
the table, and place a 1/8" balsa shim under the leading edge spar to hold
the wash-in setting in place.
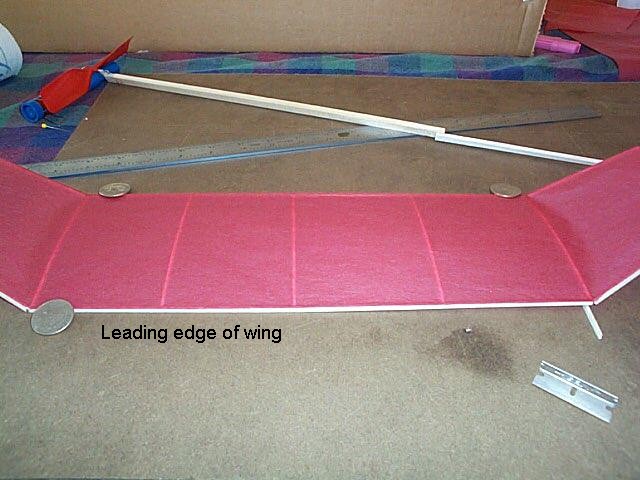
Place a couple of quarters
on the wing to hold it down on the table. Then apply a drop of superglue
to the crack you made in the spar by the center rib, and then apply the
accelerator. Let it sit for about one minute to dry.
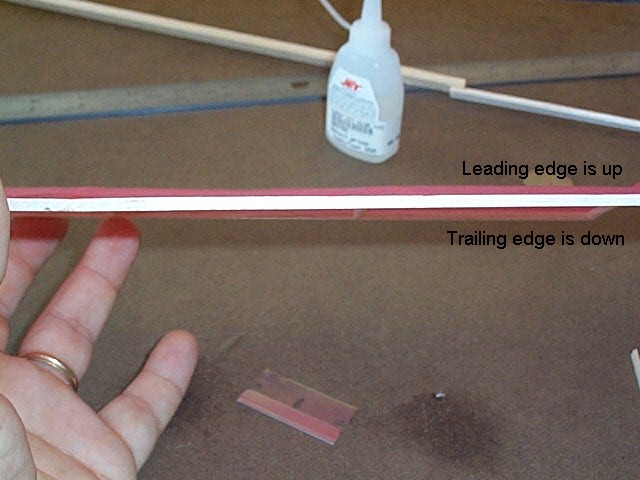
Remove the weights, and then
lift the wing off the table (it may be necessary to slide
the razor under the spar to cut it free from the table). The wing should
now have 1/8" of wash-in. (see photo below, and how the trailing edge is
progressively lower than the leading edge as you move to the right.)
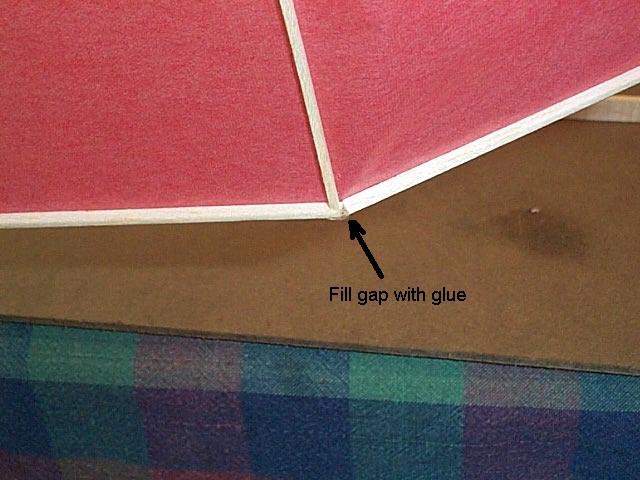
Now is also a good time to
fill in the gaps at the dihedral breaks. Place a small drop of glue into
the gap and apply accelerator to cure it. This will make the wing tips
stronger, and prevent them from breaking when the model is flying and when
it flies into something (it will happen!).