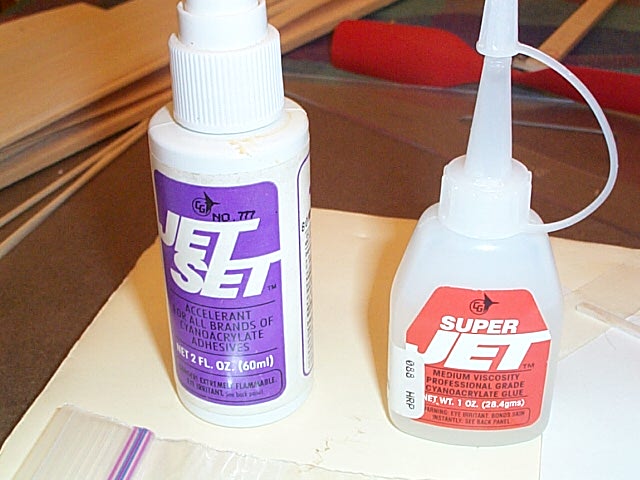
The accelerator or 'kicker'
brand is not important either, but it is necessary to have a bottle. The
purpose of the accelerator is to start the reaction in the superglue and
harden it. The superglue will harden on its own, the kicker makes the process
happen in a few seconds. This will allow you to build the model quickly,
as well as to make quick repairs at the flying site if you need to.

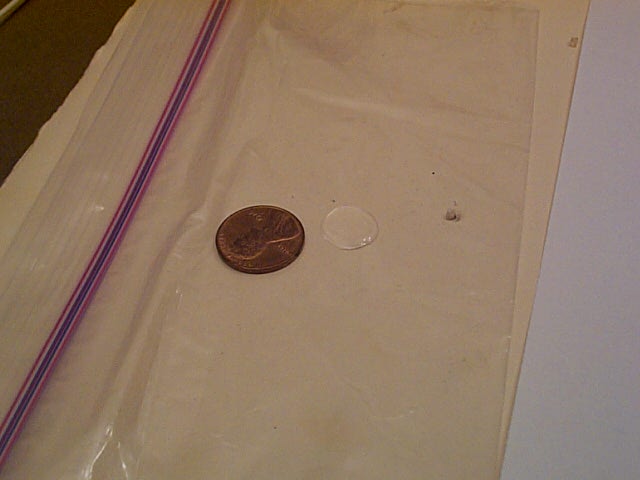
Place a drop of the superglue
on a piece of wax paper or a plastic sandwich bag. The drop should be a
little smaller in size than a penny for starters.
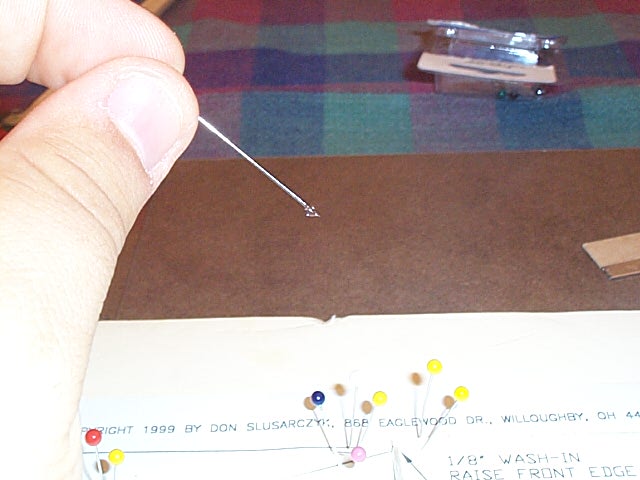
Take a pin and dip it into
the superglue. There will be a little drop of superglue on the tip of the
pin (see below).
Then take the pin and place
the droplet of superglue on one side of the rib spar joint.
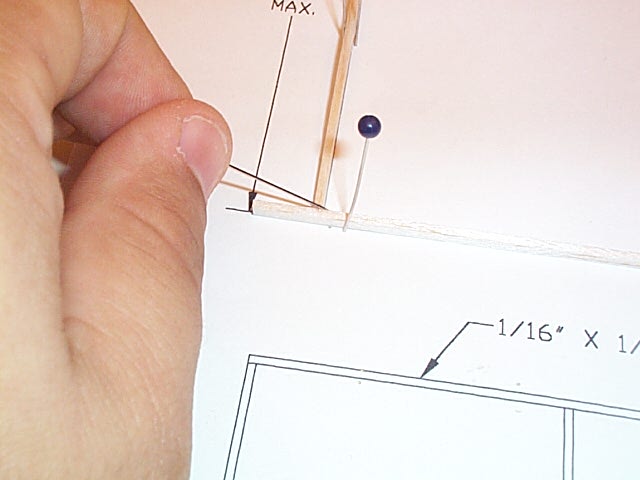
Then place a second droplet
on the other side of the rib spar joint.
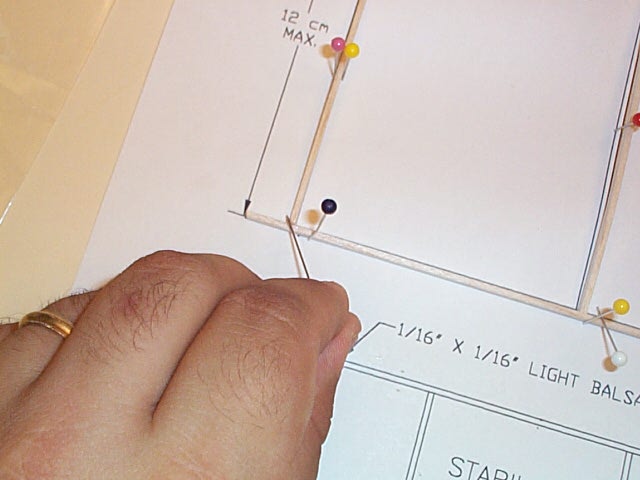
Using the same process, go
around the wing and glue each rib to the spar, as well as the wing tip
spar joint (shown below).
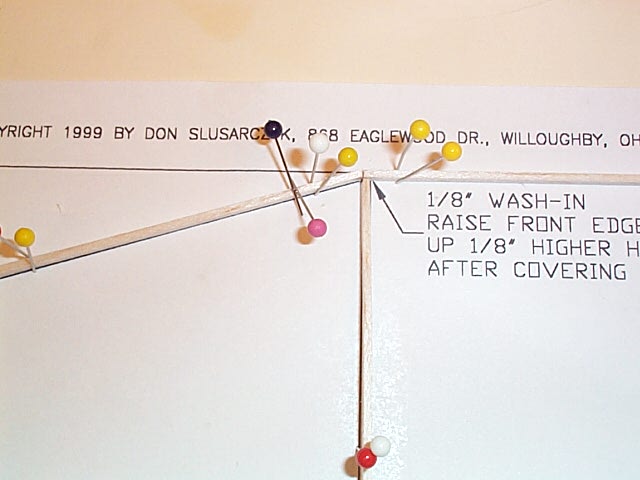
After all the joints are
glued, then use the superglue accelerator and spray all the glue joints
to make sure the glue hardens and sets.
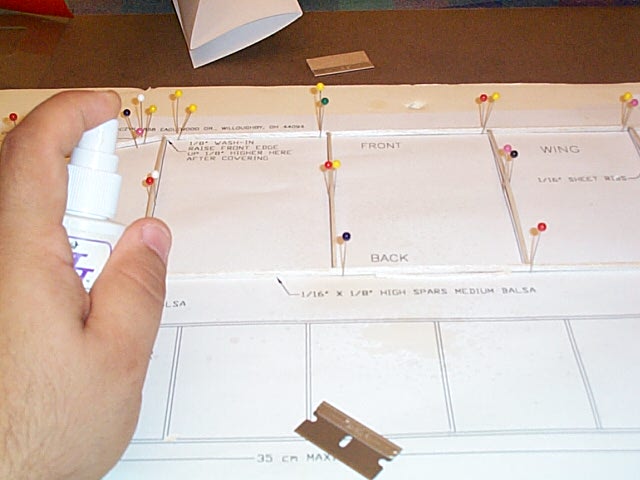
Let the wing sit for about
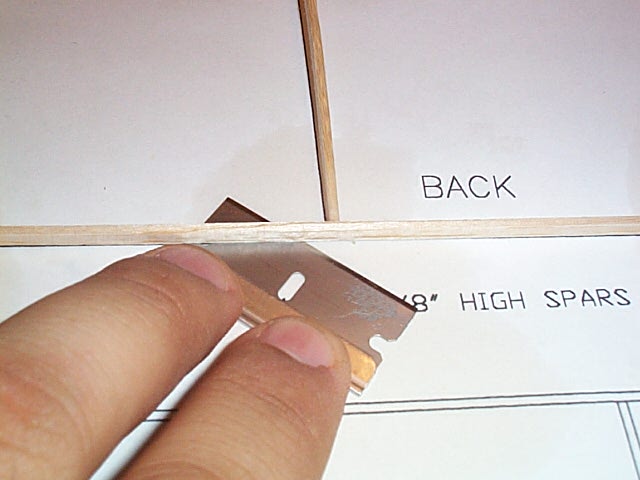
1 minute to let the superglue completely set. Remove all of the pins, then
use a razor and slide it under the glue joints as shown below. This will
cut the wing away from the plan if some of the glue happened to drip down
the rib and onto the plan. Typically only a few glue joints will stick
to the plan, but it may be more or less. The main thing is to just check
and see if the wood is glued to the plan because if you try to pick the
wing up it and one part is glued down to the plan then most likely the
spar or rib may break. This is more of a precautionary measure.
After you check to make sure
the wing is not glued to the plan, then gently lift it off of the table.
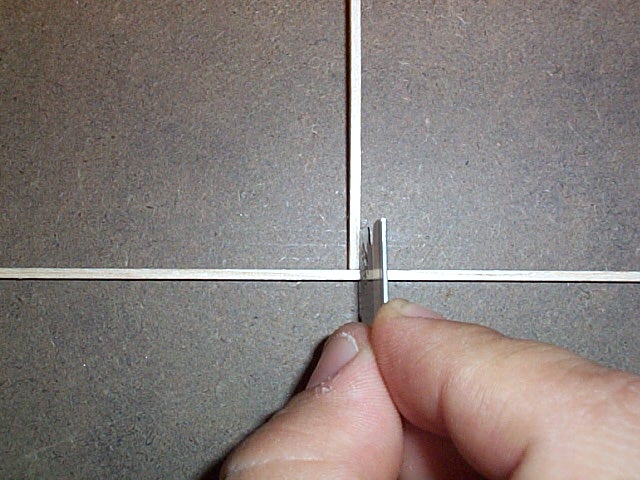
Most likely the spar at the wingtips may be too long and will need to be
trimmed.
And here is the wing completed.
