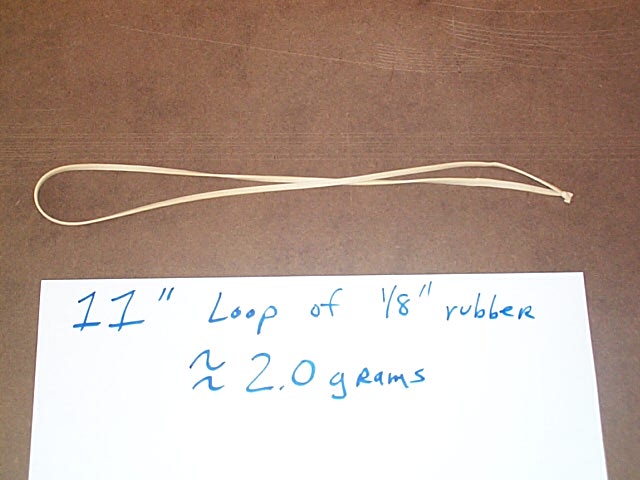
The first thing we will need
to do is make up a 2 gram motor. This is easily done by tying up a 11"
loop of 1/8" rubber. If you do not have 1/8" rubber than a loop of 3/32"
rubber about 14.5" will work as well.
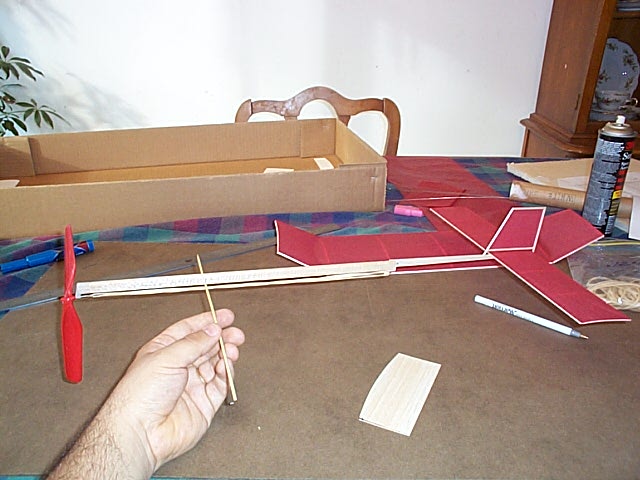
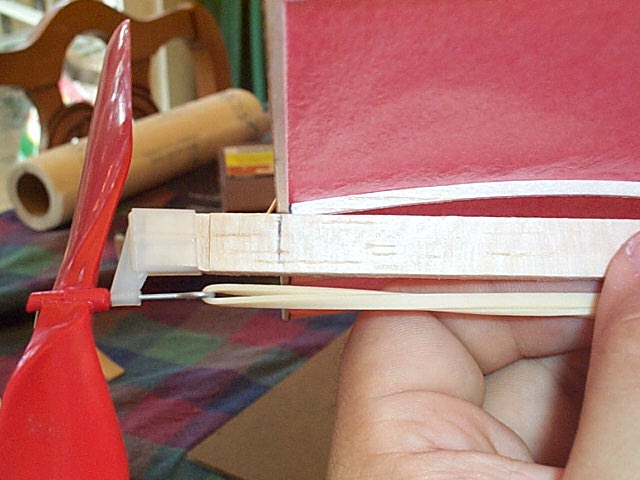
Place the prop assembly on
the front of the motorstick/tail assembly.

Attach the rubber to the
prop and to the rear hook. Then use a bamboo skewer stick or a piece of
wire and slide it between the motor and body. Move the stick forward or
backwards to find the balance point of the model.
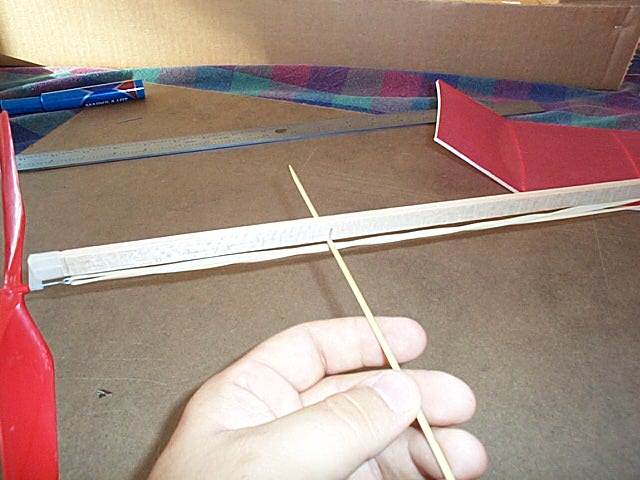
The model is balanced when
the motorstick is horizontal.
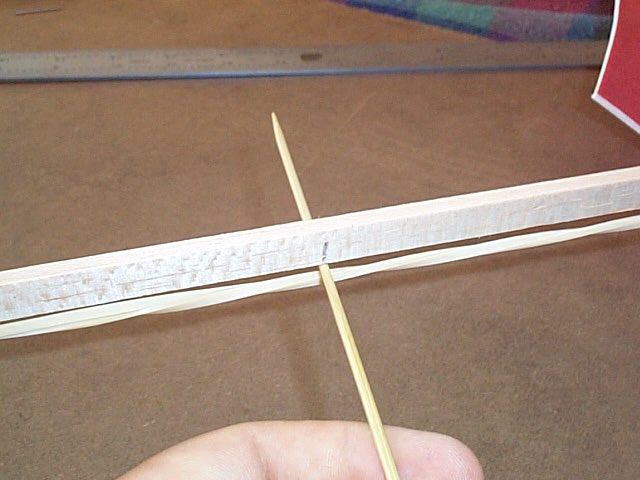
Once it is balanced, then
mark this location on the body with a pen or felt tipped marker.
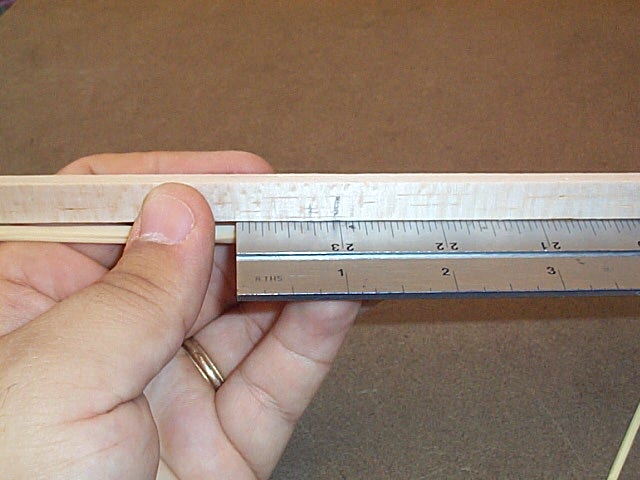
Now we have to determine
the exact location of the wing. Because the covered wing weighs so much,
mounting the trailing edge of the wing .7" behind this mark will actually
place the cg too far forward. The reason being that the weight of the wing
is in front of the marked balance point, and the extra weight will require
the marked balance point to move forward towards the wing. How much it
moves depends on how much the wing weighs. I have come up with a little
table to give you this distance based on the weight of the covered wing.
| Wing weight in grams | Distance in
inches |
Distance* in mm |
| 1.50 | .26 | 6.6 |
| 2.00 | .33 | 8.4 |
| 2.50 | .40 | 10.2 |
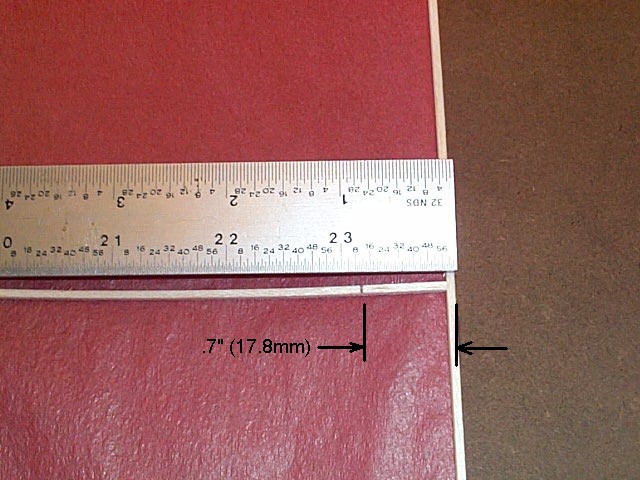
Make
a mark on the wing 0.7" (17.8mm) from the trailing edge of the wing. This
is where the balance point should be.
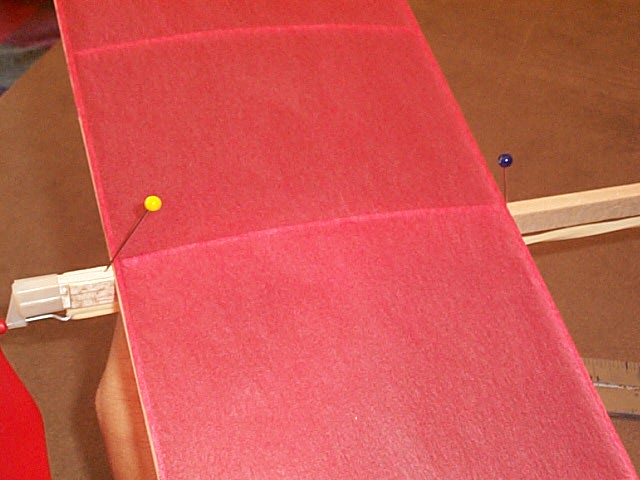
Now line up the mark on the
wing with the new mark on the body as shown in the picture below.
You
can gently pin the wing to the body to help hold it in place while you
do this if needed.

Take
a pen and mark the trailing edge of the wing.
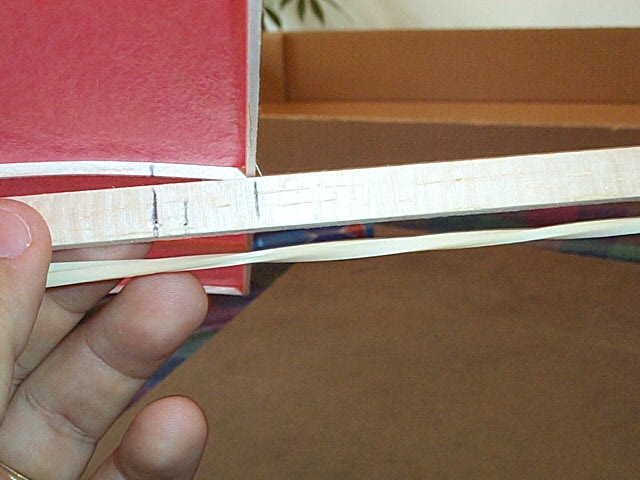
Now do the same thing for
the leading edge of the wing.
Continue on and attach the wingposts to the body or go back to the main page.