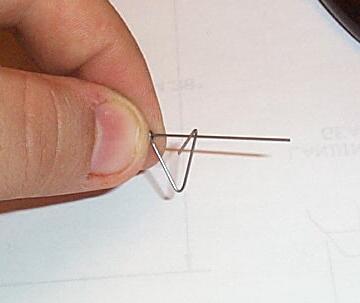
Then slowly pull the 'V'
towards you. The wire 'eye' will start to bend
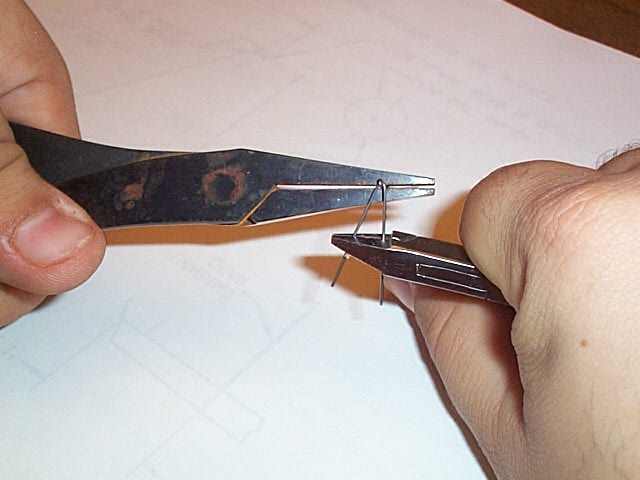
Until you have something
like this.
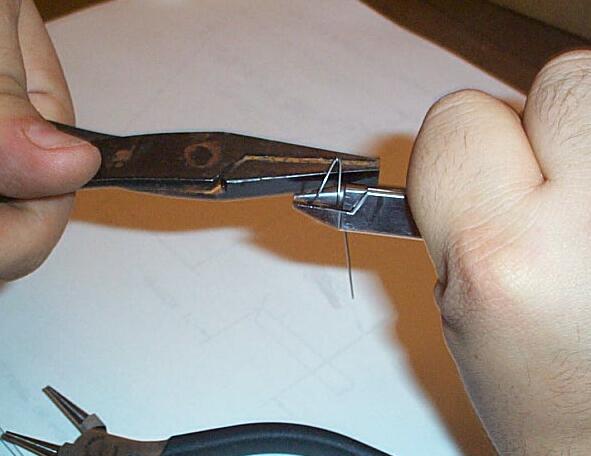
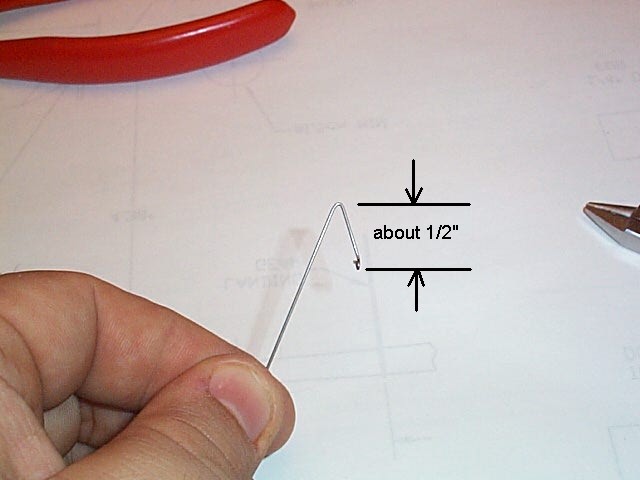
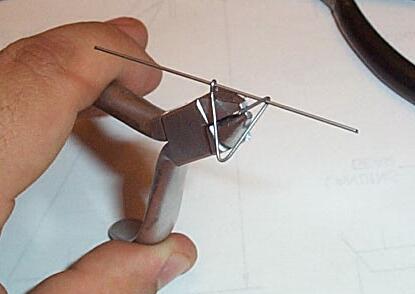
Then use the pliers, and
bend the wire as shown.
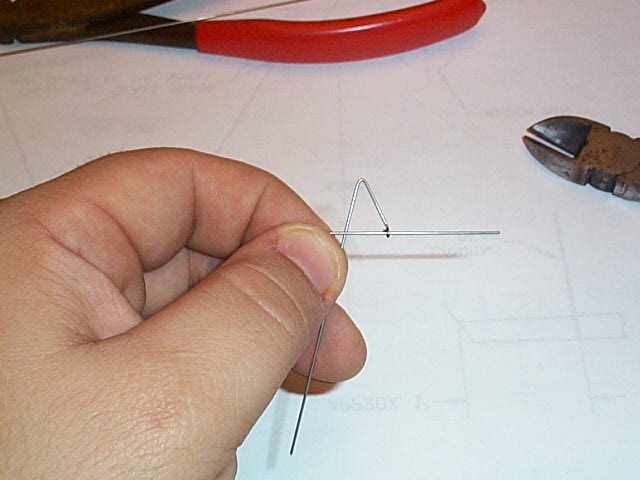
Then bend the rear portion
of the bearing as shown below.
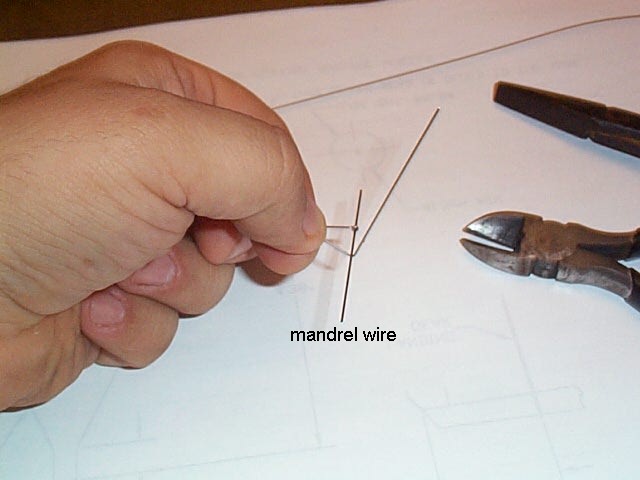
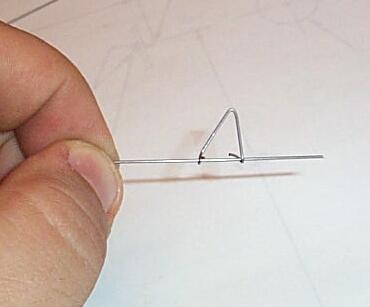
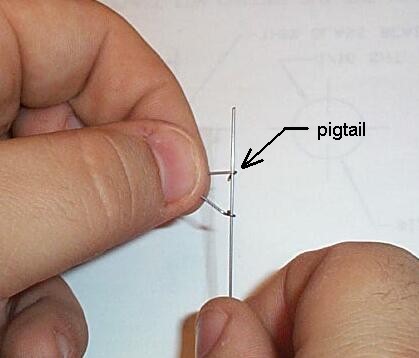
Place the short 2" piece
of wire into the front loop of the bearing as shown. Where the wire crosses
is the location of where the pigtail will be formed.
Start to bend the bearing
wire around the mandrel wire as shown below.
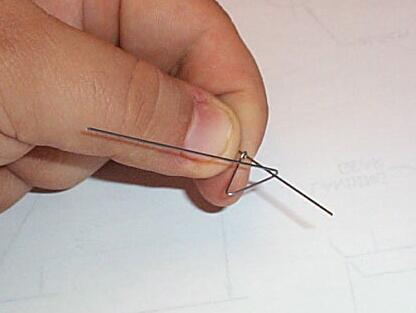
Continue to bend the wire
around the mandrel until you have something like this.
Cut off all but about the
last 3/8" of wire.
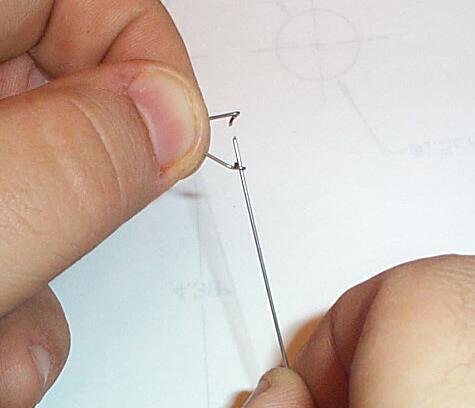
Then use the needle nose
pliers and grab the wire by going through the center of the bearing as
shown below. Once you grab the wire, then pull the wire through the center
which will make the pigtail.
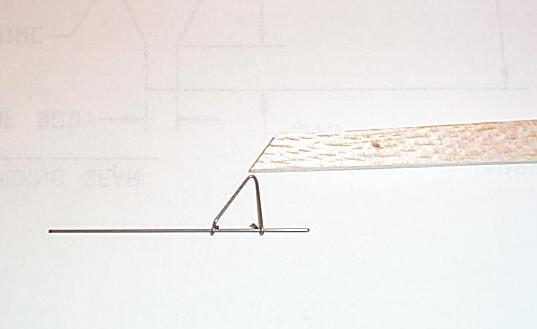
This is what it will look
like when completed and the excess wire is trimmed off.
Now check to make sure the
bearing holes are lined properly. To do that take a piece of wire and insert
it into the first hole in the bearing. Move it in and out to check to see
that it moves easily and does not bind.
Then slide the wire into
the pigtail portion of the bearing and make sure that the wire can rotate
and move freely in the bearing. It is very important that the wire does
not bind when in the bearing. If it does, then the power of the rubber
band will be used up by friction of the binding wire and slow the prop
down. You may need to fine bend some portions of the bearing to achieve
this.
Here is the final product.
Back
to the main page.