
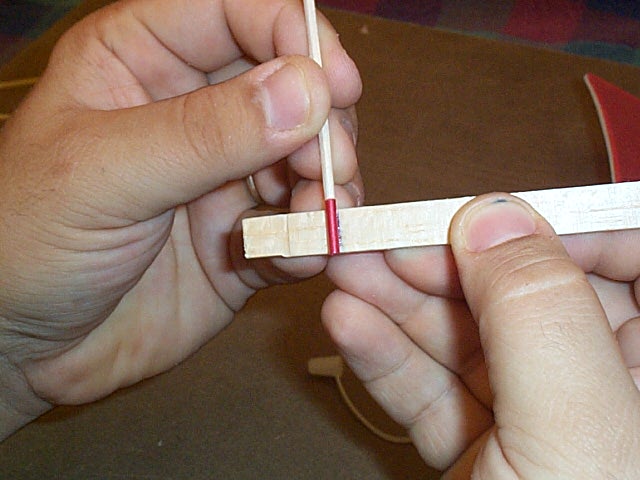
Lay the wing on top of the
body, and slide it up so it hits the leading edge wing post. Then take
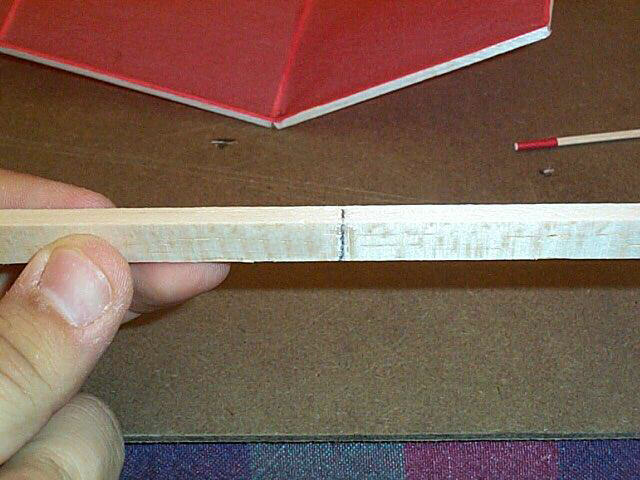
a pen and mark the trailing edge of the wing on the top of the body.
Extend the line down the
side of the body as shown below. This is the location of the rear wingpost
socket.
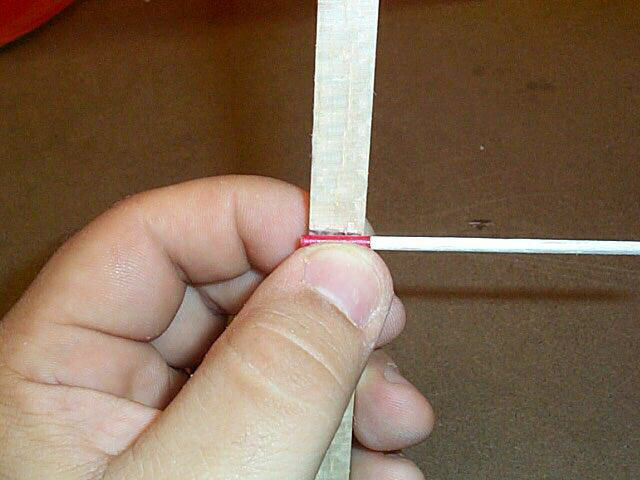
Glue the other wingpost/tissue
tube just behind of the line you just created. You want to make sure that
the wingposts are parallel with each other and
not crooked.
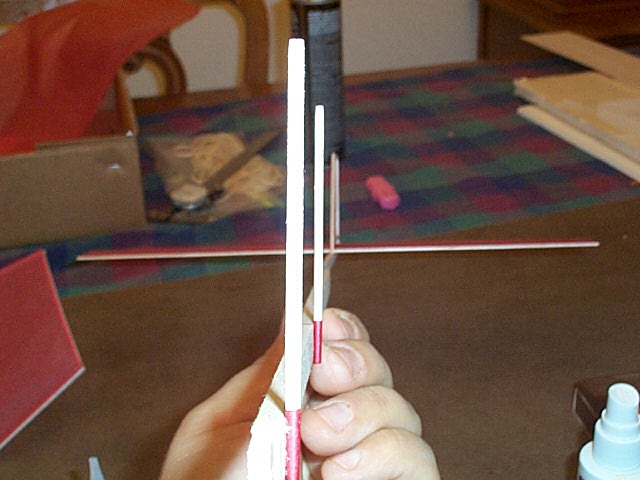
This is what it should look
like when you are done. Not like this.