Covering the model is not that difficult to do. There are two methods for easy covering of the model with tissue paper. The first method is to use spray adhesive, the second is to use a glue stick. Both methods will be covered.
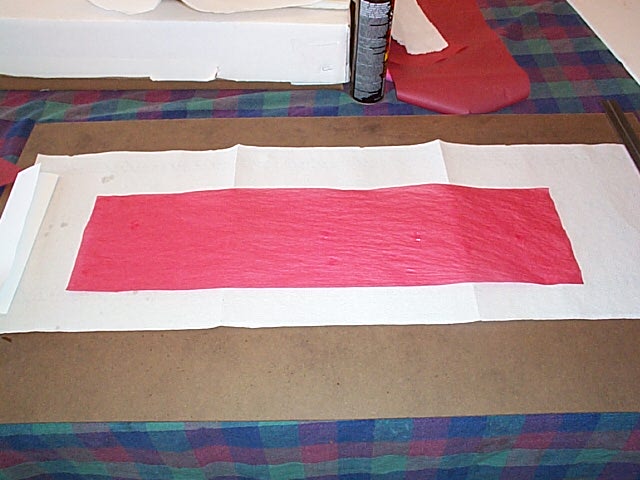
To start off, you will need
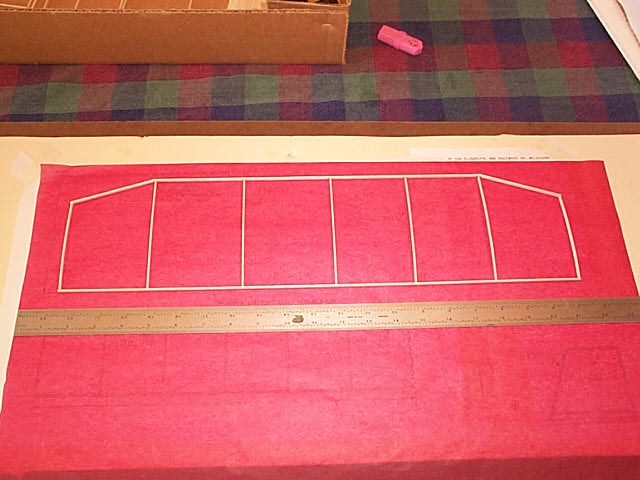
to lay out a sheet of tissue paper over the model plan. You will be able
to see through the plan and see the outline of the wing. Lay the wing on
top of the tissue over the plan, and make sure there is about 3/4" (19mm)
of excess tissue around the leading edge of the wing. Use a ruler or a
straight edge and lay it about 3/4" (19mm) behind the trailing edge of
the wing (as shown below).
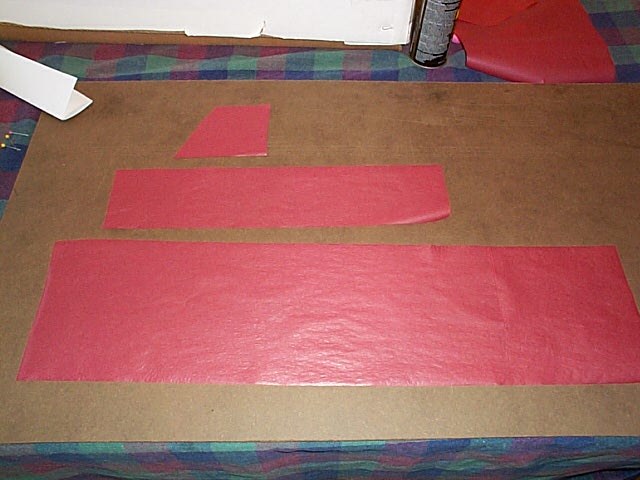
Use a brand new single edge
razor, and cut along the ruler to cut out the tissue piece for the wing.
Do the same with the stab and fin.

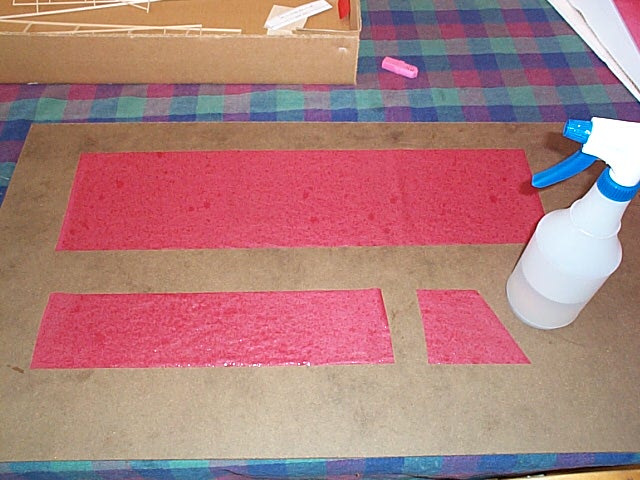
Now we must pre-shrink the
tissue before placing it on the model. Pre-shrinking the tissue protects
the model from warping from humidity changes and natural shrinking of the
tissue. To do this you will need a water mister or spray bottle. The bottle
shown here was bought from Kmart and is used for spraying water on house
plants. Fill the bottle with tap water, and spray a fine mist onto the
tissue from about 3 feet away. The tissue should be nice and wet all over.
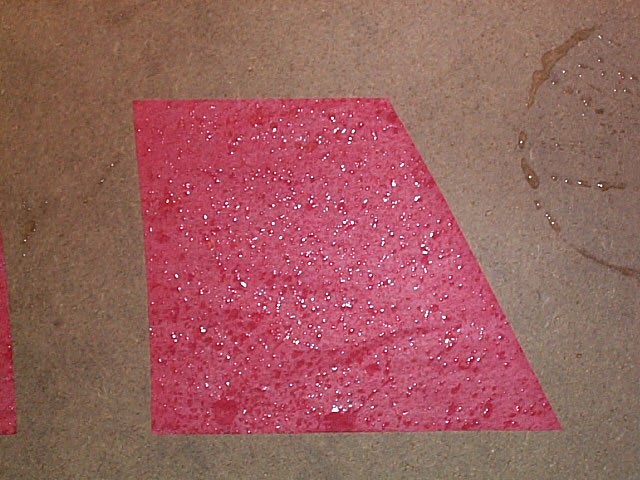
Here is a close-up of the
water on the piece of tissue for the fin. This will give you an idea of
how much water to spray.
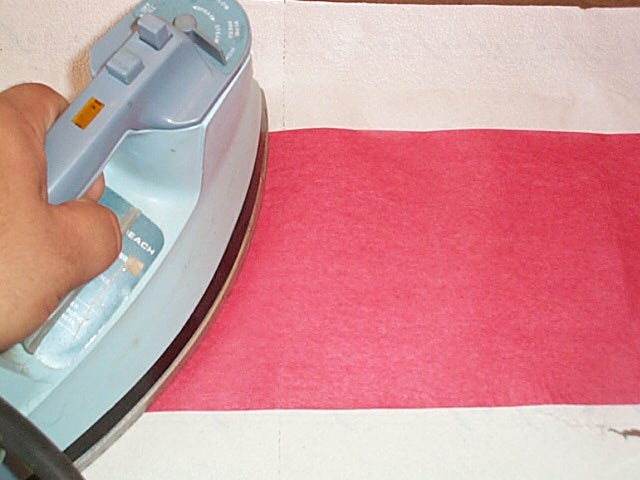
After the tissue dries, about 45 minutes is needed, it will be wrinkled and wavy looking. (Do not worry about this now, we will fix that in a minute). For the next step, you will need a few sheets of paper towels as well as an iron. The paper towels need to have a bumpy texture to them. Most paper towels have little bumps on them but double check to make sure yours do. You do not want to use very smooth paper towels, we want a little texture in them. The generic brand paper towels often have lots of bumps on them so this may be the best option if you are having troubles finding a suitable paper towel.
The iron needs to be set
to the hottest setting it will allow you to have. Please note that some
irons have a steaming function at these higher setting, if that is the
case then you will need to remove the water from the iron. You want dry
heat for this next step, not steam. Once the iron is warmed up, then lay
your piece of tissue over the top of the paper towels.
Place the iron on the center
of the tissue paper, and then while pressing down, push the iron over one
end of the tissue paper. Go back to the center again, but this time go
the other direction with the iron. As you iron, the wrinkles and tissue
will be smoothed out.
Do this for all the tissue
pieces.

When you are done the tissue
will be much smoother than it was. If you look carefully at the tissue
surface, you should see small wavy patterns all over the tissue. These
waves are from the shrinking and ironing process and are essential in keeping
the tissue paper from warping you model.