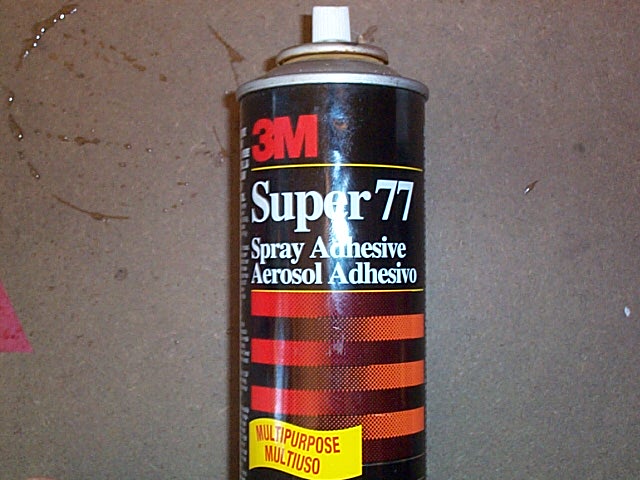
The best spray adhesive to
use is 3M Super 77 Spray Adhesive. This is a very sticky glue and is perfect
for covering models. You can buy this at an art store, craft store, as
well as many hardware stores. I highly suggest buying only this brand.
The reason is that many other spray adhesives loose their tackiness over
time and the covering will fall off your model during handling or even
while flying. If you can not find this exact brand and have to take your
chances, then be sure to stay away from any brands which say "temporary"
or "photo-mount" adhesive on the label. These types have a low stick formula
which is not strong enough to hold the tissue to the wood. Look for brands
which say "permanent strength", "aggressive tack" , or the like.
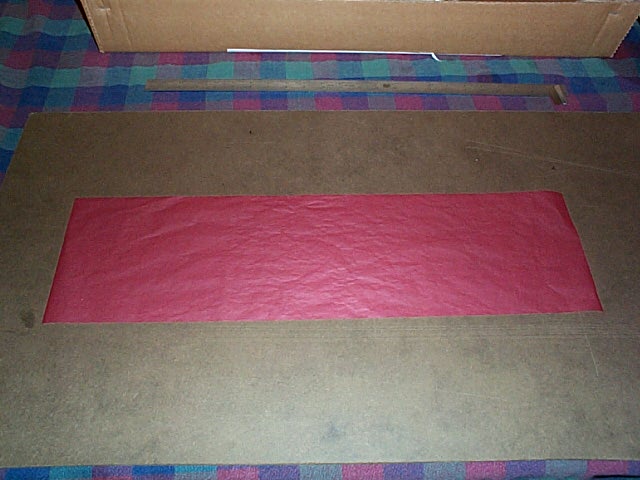
Before applying the glue,
it will be necessary to have the tissue paper for the wing spread out on
your building board (see below).
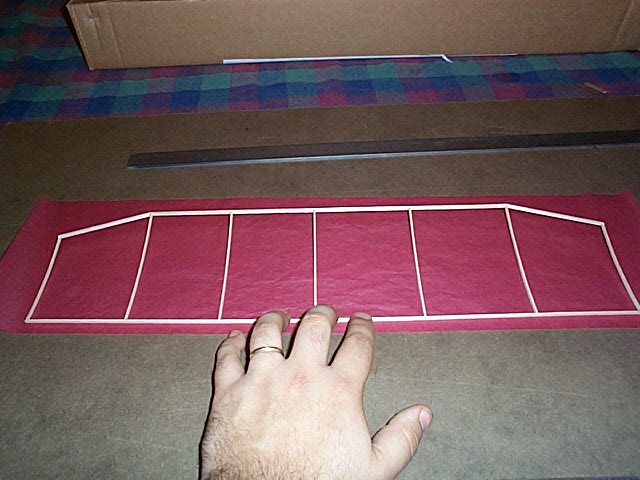
You will need to find a place where you can lay some newspaper down on the floor for applying the glue. Try to find a place where there is little or no draft and far away from furniture because the spray glue mist can float and land on the floor or furniture. You can also lay some paper on the ground outside or on the grass if you don not want to spray in the house. Lay out several sheets of newspaper down, in fact, the more the better for now until you are use to the spray pattern of the nozzle. Once the paper is down, lay the wing down on the center of the newspaper. You are now ready to spray. Hold the can about 12" above the wing and move to the starting position which is about 2 inches to the left of the trailing edge wing tip spar. Press down on the spray nozzle and once the glue comes out in a spray, start moving your hand from the left wingtip trailing edge spar position to the right wingtip trailing edge spar. Aim the spray pattern at the trailing edge spar while you are moving along the way to the right wingtip trailing edge spar. The time to go from the left wingtip to the right wingtip should be 1.5 to 2 seconds. If you go too quickly, then not enough glue will be deposited, if you go too slow, then excessive glue is placed on the wing and could increase the weight of the wing.
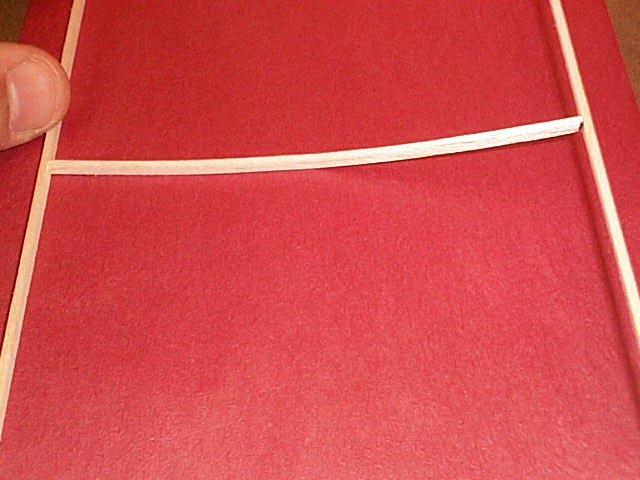
After you spray along the
trailing edge spar, do the same for the leading edge spar. Then spray both
of the wingtip ribs to make sure they have glue on them. The spray pattern
is numbered in the photo below.

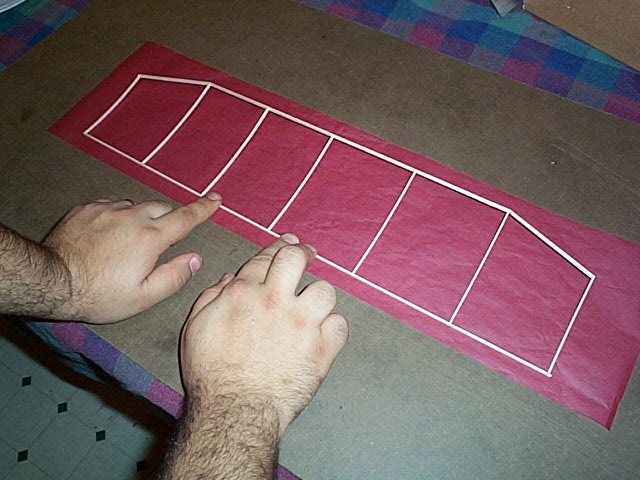
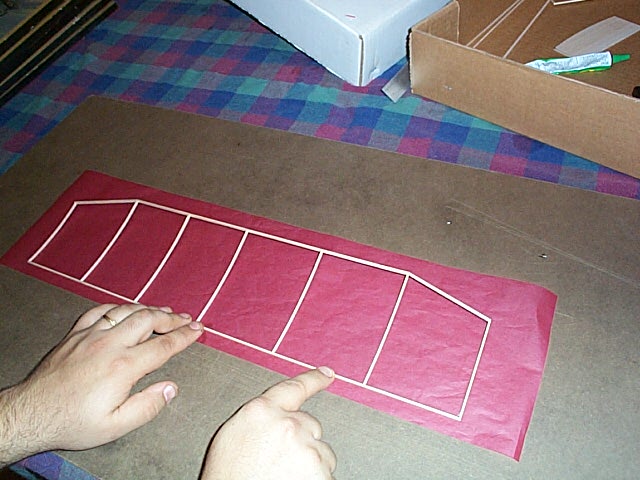
After the wing has been sprayed,
carefully pick it up off of the newspaper and take it over to the area
where the tissue paper is waiting. Now turn the wing over so the wing is
upside down (see below).
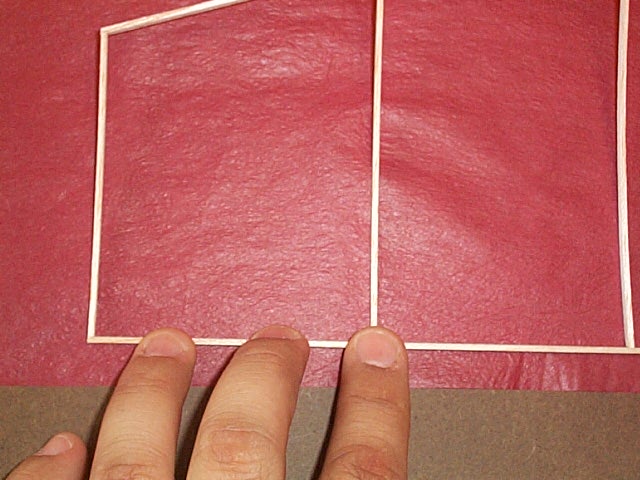
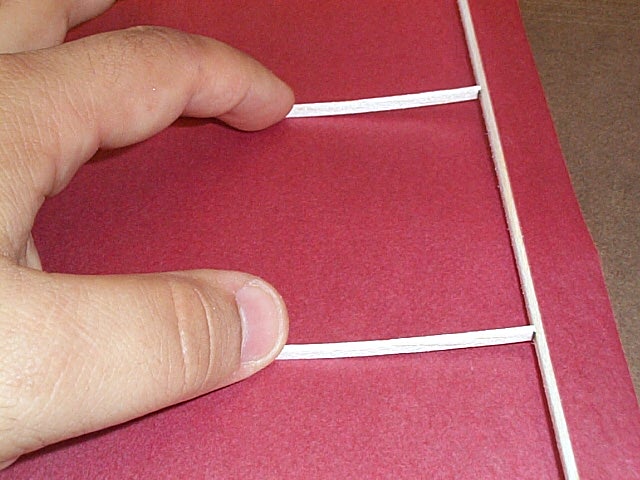
Now slowly bring the wing
closer to the tissue paper. Make sure that both wingtips are about the
same height off the table when you bring it in closer to the tissue. You
do not want one wing tip to hit before the other or it could mess you up.
You want to try and time it so the entire trailing edge of the wing touches
the tissue paper at the same time. As soon as it touches, use your other
hand an gently push down on the trailing edge spar to ensure the paper
is attached to the wood. See the next photo sequence.
As you push down on the wing,
the tissue will start to stick onto the ribs as well.
Once the tissue starts to
stick to the ribs, then push on the center of the ribs to make them stick
to the tissue.
Finally push on the leading
edge to make it stick to the tissue as well.
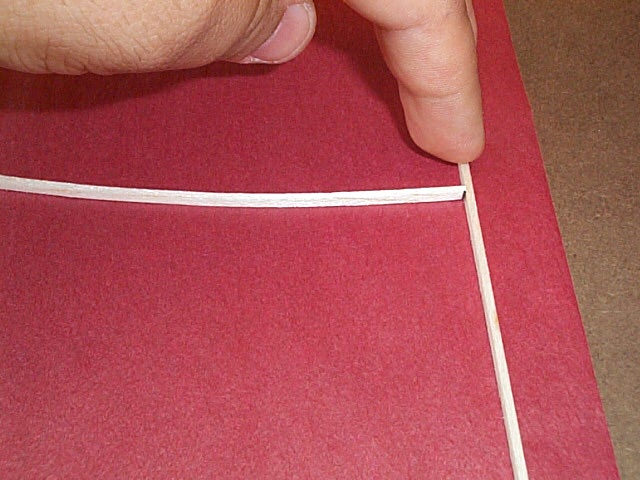
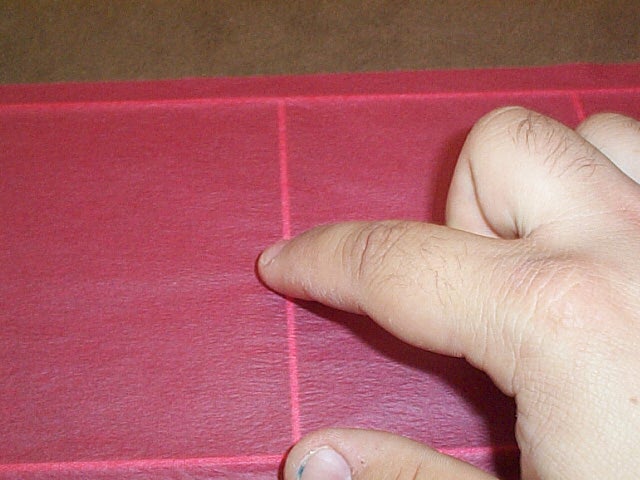
Now flip the wing over, and
then run your finger along the top of the spars to make sure the tissue
is attached to the wing spars.
After you do the spars, rub
the tissue on top of the ribs to make sure the paper is attached to the
wood.
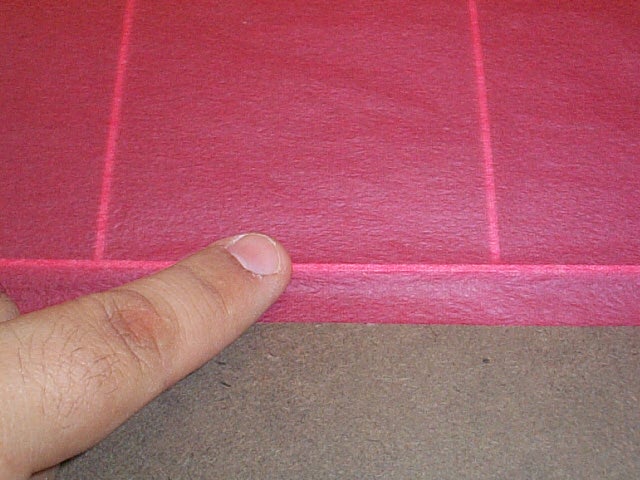
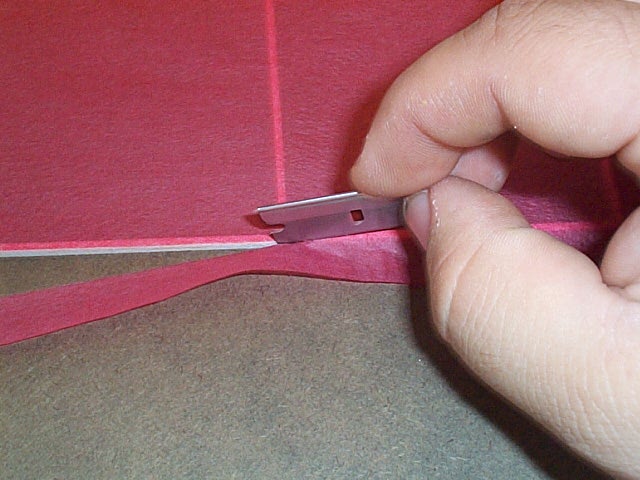
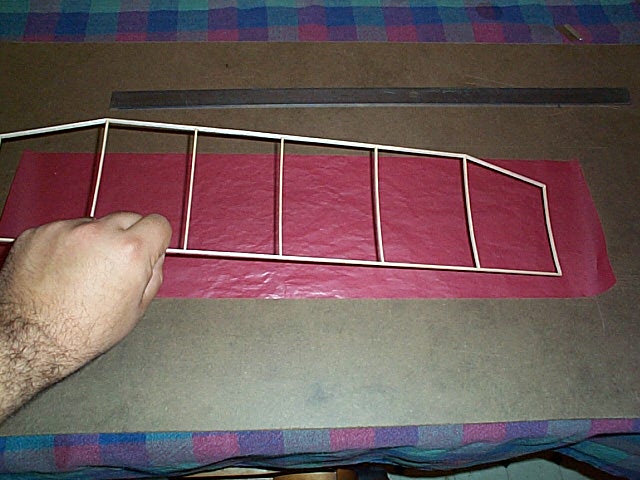
Now all that is left to do
is to trim off the excess tissue paper. Use a brand new single edge razor
for this. If you use a dull razor, the tissue will rip and could tear the
tissue off of the wing or a portion of the wing, so it is best to use a
brand new razor and use it only for trimming tissue paper. To trim the
tissue, run the razor along the edge of the spar using the spar as a guide.
Use very light pressure when doing this so the razor does not cut into
the spar wood. It helps if there is a little tension on tissue when cutting
it. The photo below shows the cut off tissue (on the left) being pulled
gently during the cutting process. Take you time while doing this and you
will get a nice clean cut all around the wing.
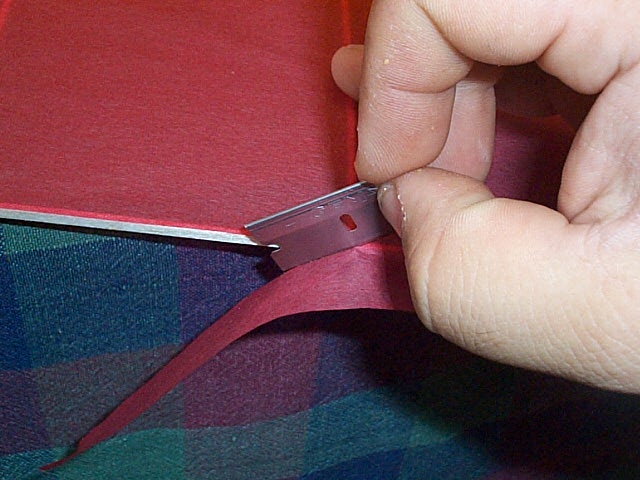
If you find that after some
cutting that the razor is starting to stick to the spar and/or the tissue,
then this is due to the razor picking up some of the excess spray adhesive.
Look at the blade and see if you can see some glue on it. If you do, then
clean the razor off with some acetone, lacquer thinner, or nail polish
remover. You can also flip the razor over and using the other cleaner side,
or just use a brand new razor blade.
Another photo of trimming.
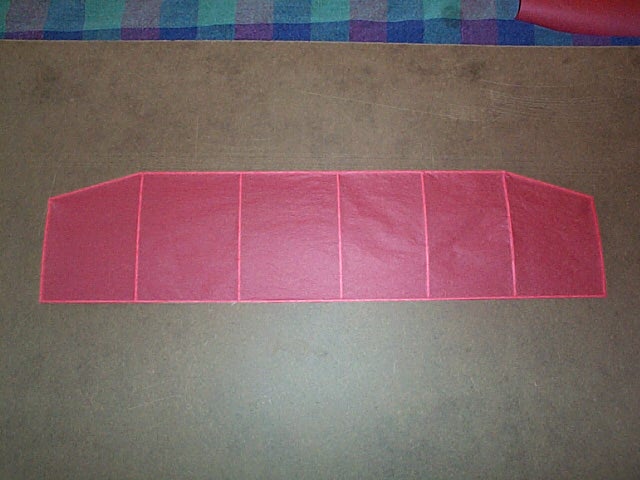
And finally the finished
product!!!