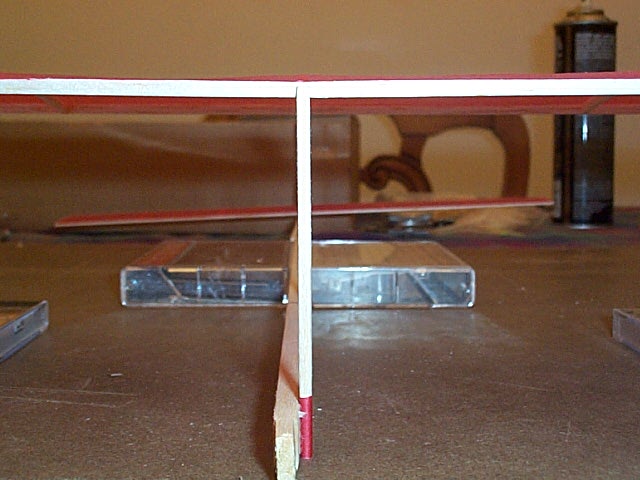
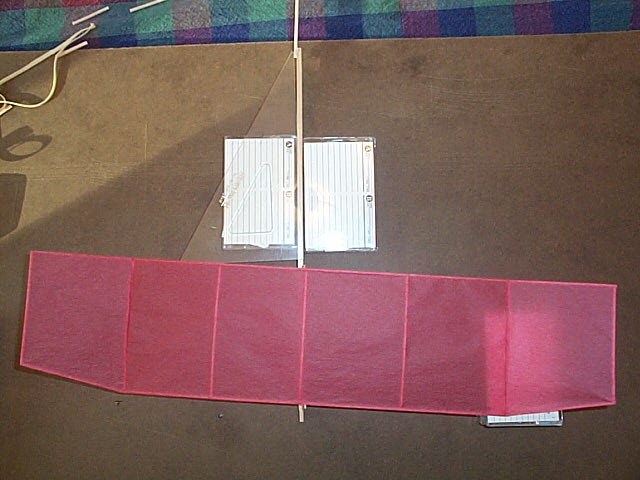
You want to make sure that
the tail is tilted correctly during this process, and that the wingposts
are vertical. (see the photo below).
Make sure that the wing is
perpendicular to the body not cocked to one side.
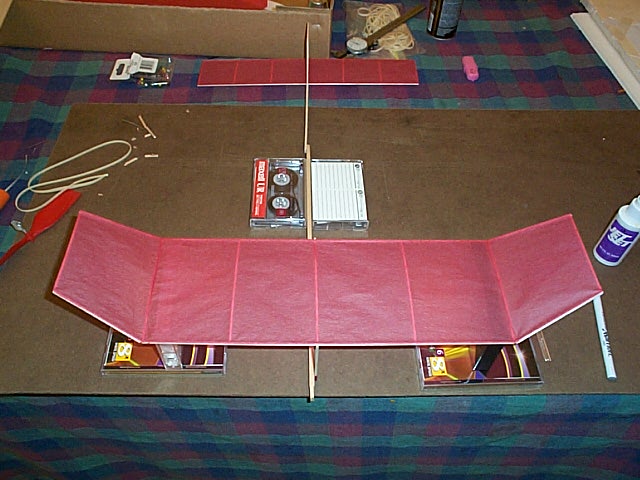
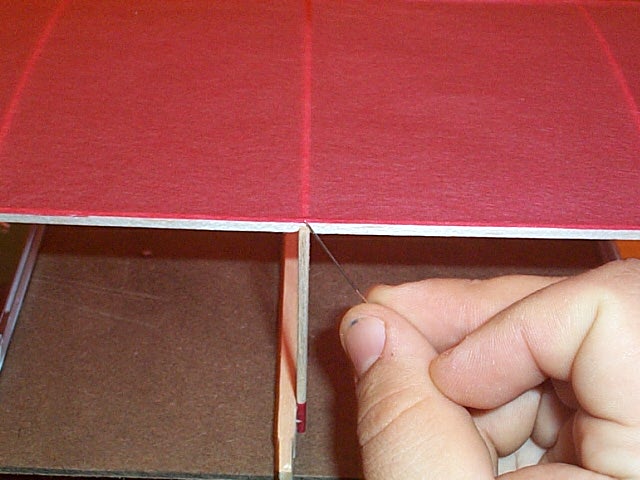
Apply superglue to each side
of the wingposts and then apply the accelerator. (If your wing spars do
not touch the wing posts, then cut a small shim of balsa to fill in the
gap.)
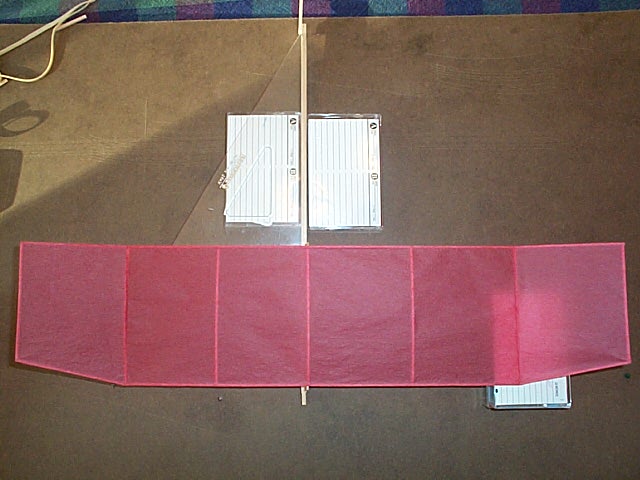
When you are done you will
have this.
Now slide your prop assembly back on the nose and your AIRPLANE IS DONE!!!
If you have a Division C
model then you will need to glue your landing gear on now. Position your
landing gear 1" to 2" from the nose of the model. However, a good suggestion
here would be to place the 2gr. motor back on the model, and check the
balance point again. There should be a mark
on the wing that is .7" in front of the trailing edge, and then position
the gear as needed on the body to make the model balance at this point.
The gear should end up between 1" and 2" from the nose of the model, however,
the gear should always be located at least 1" in front of the trailing
edge of the wing. If the gear is further back, then the model will nose
over during launch and never take off of the ground.
Here is my model on the scale
all complete and ready to fly.
Back to the main page.