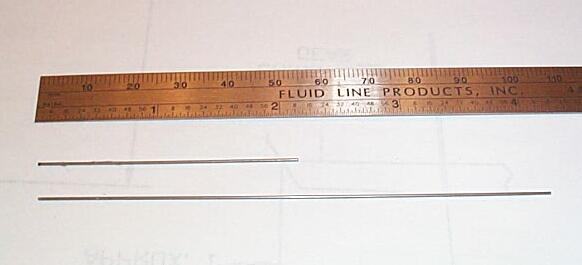

Cut a few pieces of wire
to 2" and to 4" long.
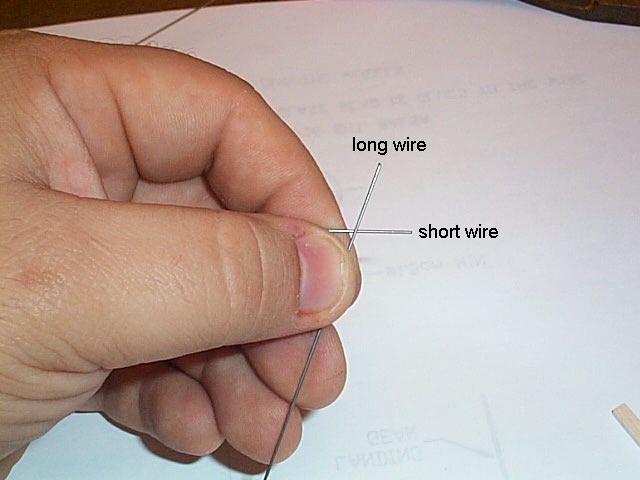
Then cross the longer wire
over the shorter wire as shown below.
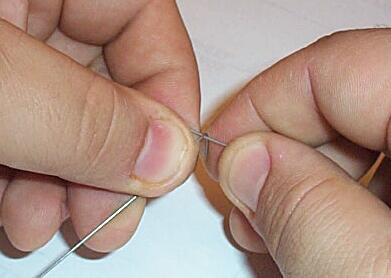
Use your finger and wrap
the longer wire around the shorter wire.
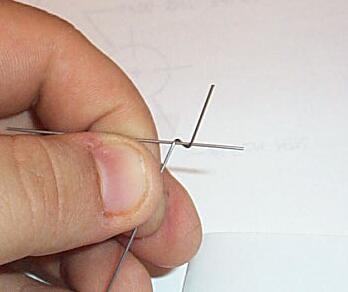
Until you have this.
Then hold it with the pliers
and wrap the wire around again, but this time you want the wire to make
a tight loop when looped around. Meaning that the wire makes a loop around
itself kind of like the way a phone cord looks when it is relaxed, the
coils touch each other, you do not want the coils to be separated like
a phone cord which is stretched out.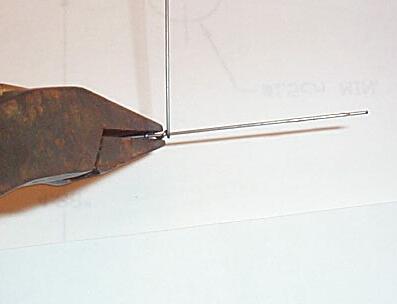
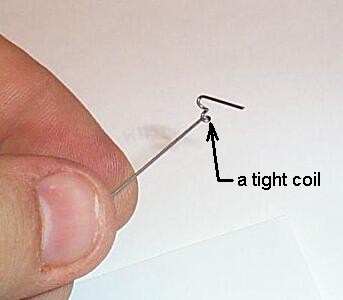
Here it is done with one
tight coil.
Then use the wire cutters
to trim off the excess wire.
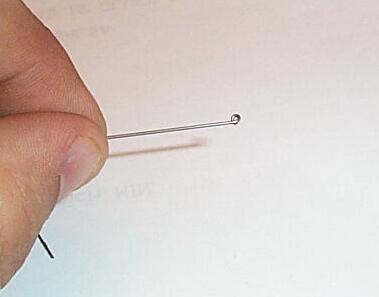
The next thing we need to
do is straighten the loop to bring it back into line with the wire.
To do this you will
need to make a 'V' shaped piece of wire to use as the 'puller'.
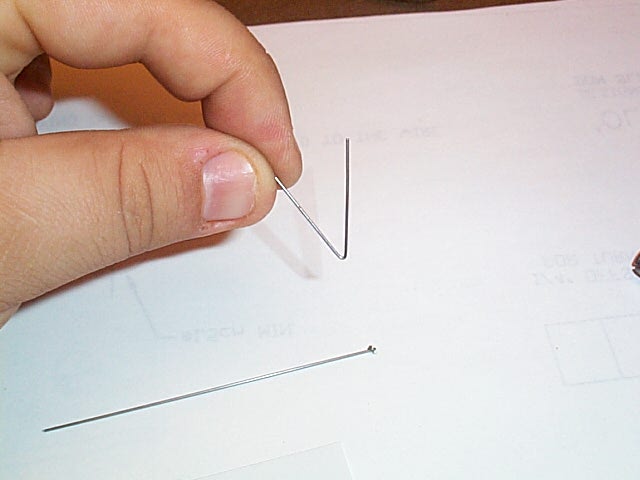
Then insert it into the wire
'eye' with the 'V' hanging down, and the 'eye' pointing as shown below.
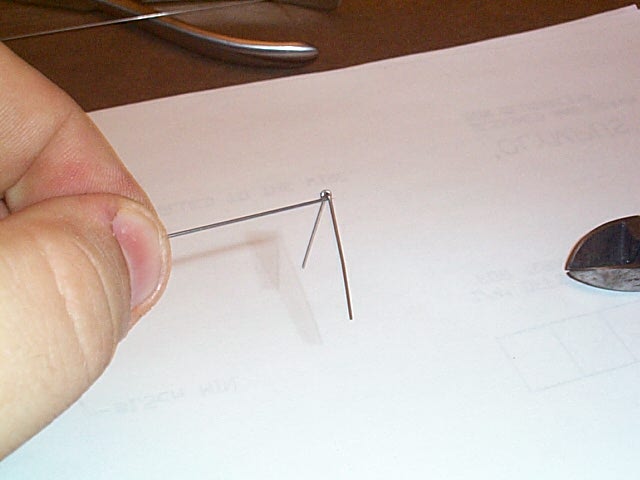
Use the needle nose pliers
and hold the wire with the 'eye' as close to the 'eye' as possible (see
the photo below).

Part two of bending a wire bearing.
Back to the main page.